Category Archives: Tutorial

Press'nSeal on flat panel

Using plastic wrap to copy a garment… who knew?

another time-saving technique I learned.

Recently I read a post on Facebook where someone described a technique use Glad Press N Seal to “slip” a copy of a garment. Whaaaaa? Sounded crazy but I was intrigued. I gave it a try and – yes- it is an amazing technique. I found it to be easy to do and very accurate. As someone who has copied numerous garments over the years with paper, pins, and needle wheel, I think this is vast improvement.

I put this method to the test copying my very favorite 25 year old Patagonia Ladies’ drop-seat ski pants which of course are not made any more. These pants are somewhat complicated with at least three different fabrics, darts, a gusset, and articulation. The pattern pieces I came up with required an absolute minimum of truing and re-drawing. It was very easy to make the changes I wanted to make in the process. Photos will be after the text explanation.

What you will need:

  • Glad Press n Seal (try Amazon if you can’t find it in a store)
  • A Sharpie
  • Pellon Grid
  • Assorted French curves and rulers
  • A garment to copy
  • A table to work on
  • Scissors (for cutting Pellon Grid)
  • Optional: Tailor’s Ham

Method of work:

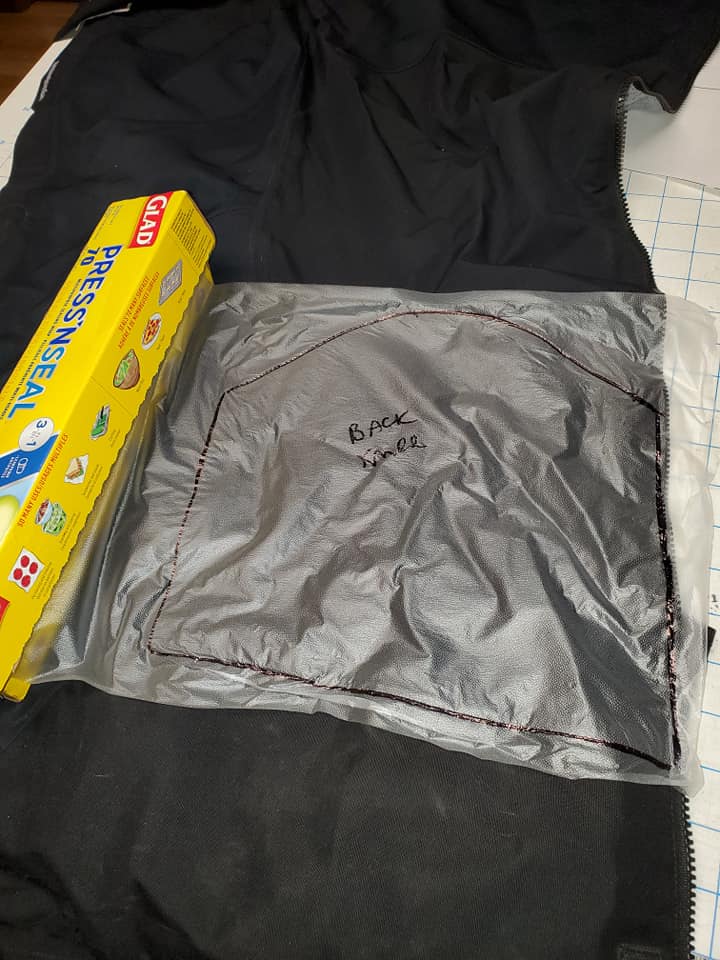
Spread your garment out flat on a table. Decide which panel/part area you want to copy first. A flat area without darts or shaping would be a good first piece to do. Cut some Glad Press n Seal a little bit bigger than your area. You may have to stick several pieces together if it is a large area or an odd shape. The wrap has a slightly sticky side to it. You will press the wrap to your garment area, sticky side down. Make sure your area is as flat as possible, then smooth the wrap, eliminating any wrinkles. Once you have the wrap totally smoothed out, take a Sharpie and outline the seamline. I found it is easy to carefully run the marker right along the seam line. Mark the grainline and/or direction of most stretch. You will add seam allowance later. At this point, peel off the wrap, label it, and set it aside. I found the pieces stack and can be separated later.
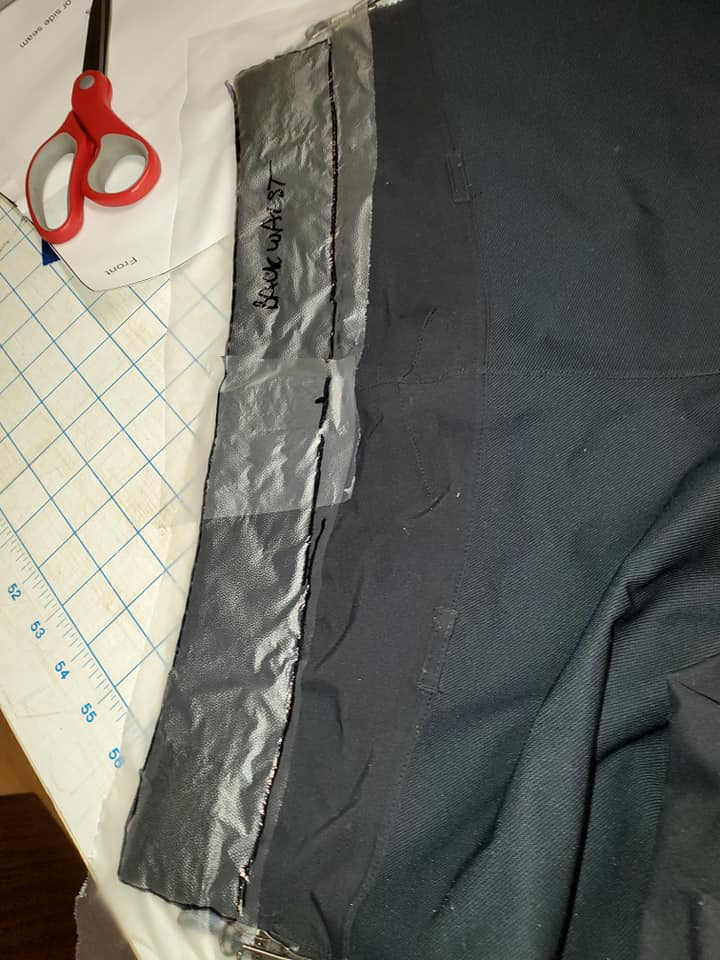

For curves and odd shaped areas you might want to shape that part of the garment over a tailor’s ham, the edge of an ironing board, or something with a similar shape. This will allow you to capture the shaping of curved seams or darts. What I found with darts is to smooth the wrap starting at the opposite end from where the dart is, then work the excess into an actual “dart” or fold in the wrap. Mark this with the pen so you don’t lose it when you flatten the piece in the next step. Trace the seamline as above with a Sharpie. Preserve this fold when you peel the wrap off the fabric. Label your piece and set it aside.

Front knee with multiple darts

For every piece of the garment make a piece. Be sure to label each one. Once you have all your pieces traced, smooth each one onto the wrong side of a piece of Pellon a bit bigger. I like to line up the grainline. The pieces that have curves or darts should smooth out flat. If you marked a dart it should now lay flat. At this point, I touch up the seamlines if any are wonky, and make sure the piece has as needed notes and labelling. I might make some notches or other marks if it’s not obvious where it goes.

Once your wrap is onto the Pellon with all markings and seamlines, it’s time to check a few things. Using a tape measure, check your seamlines. When I did this, I found I was within 1/8″ on most seams, enough to mock it up in a muslin. If you are off any more than that, double check your garment and your tracing and correct it. Add your seam allowances, then peel the Pellon off and set it aside. You are now ready to make your mock up!
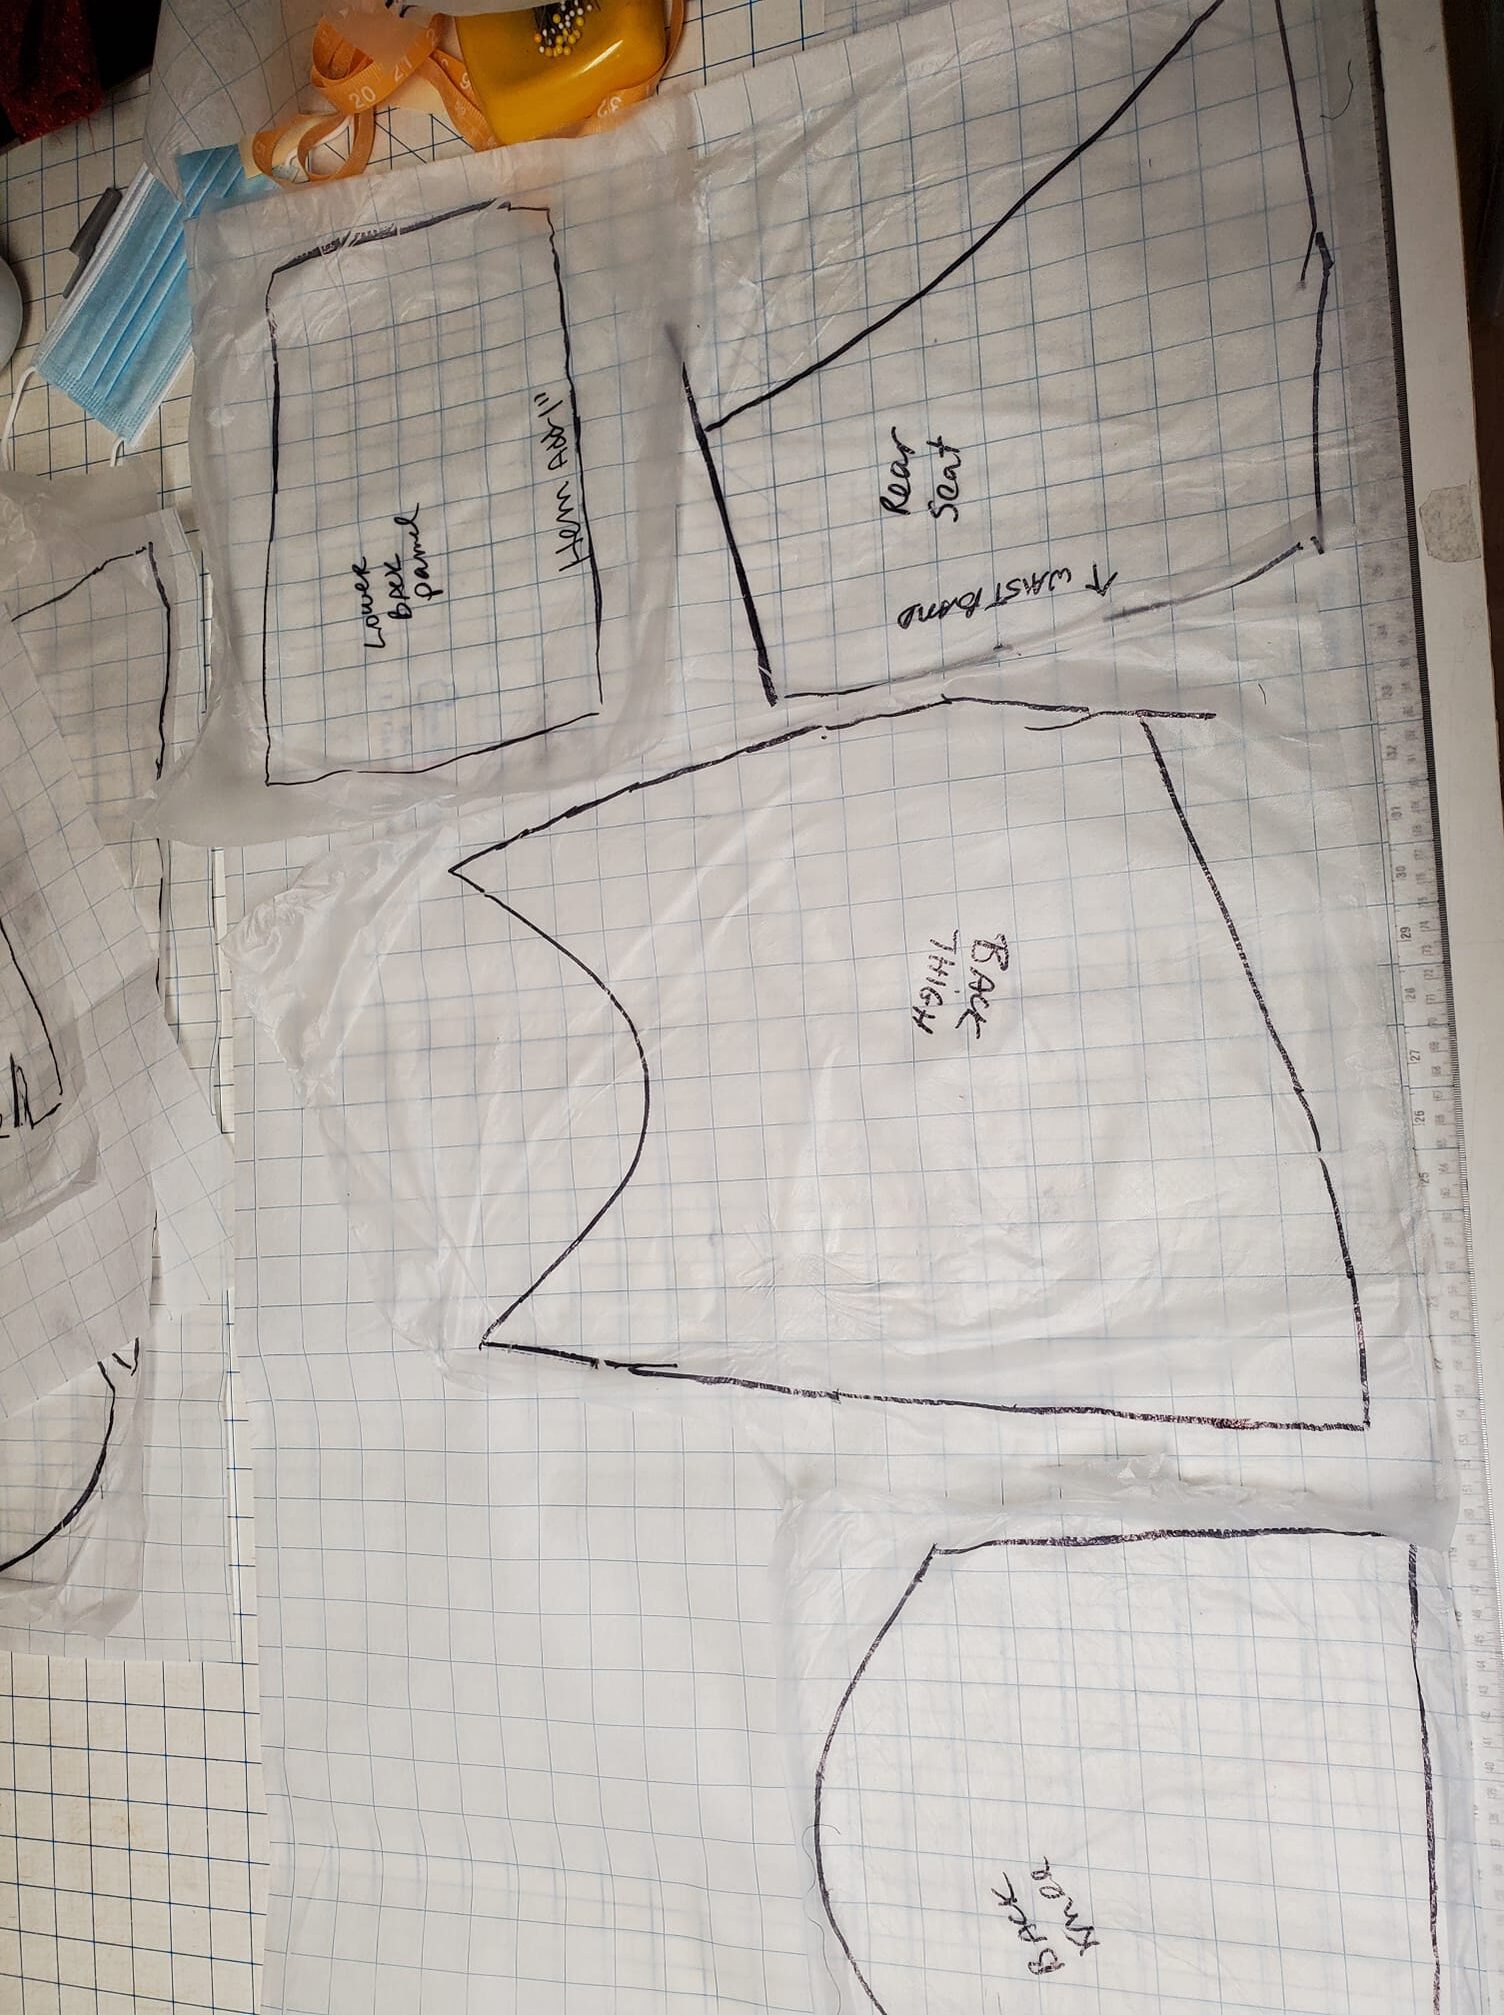

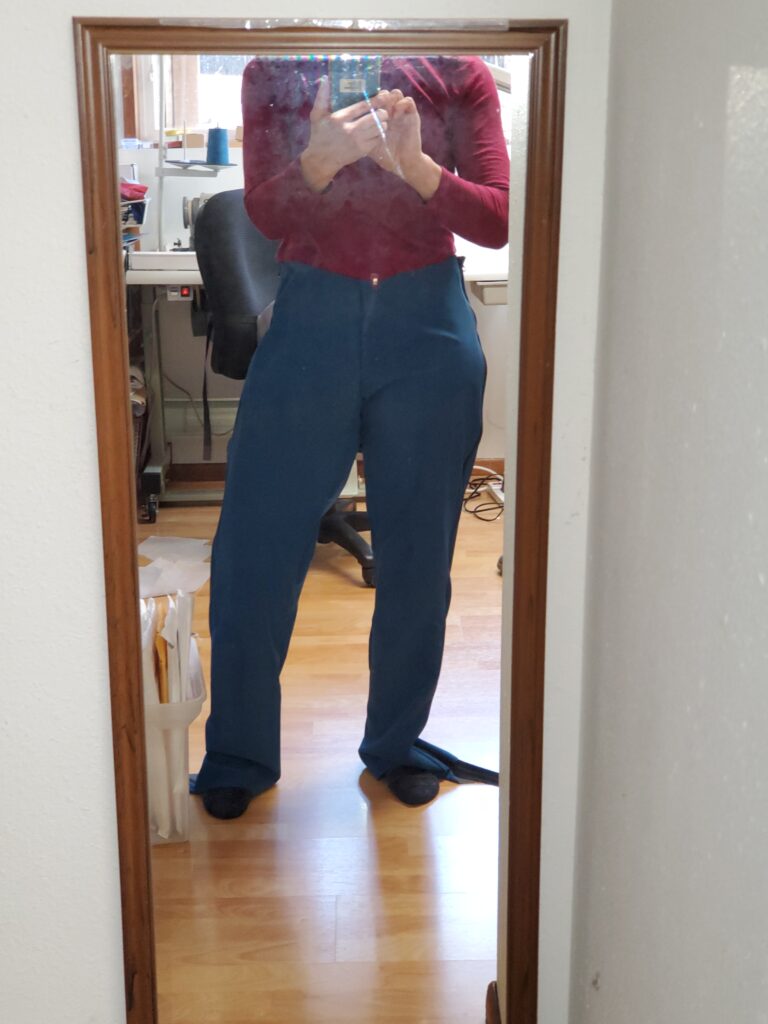
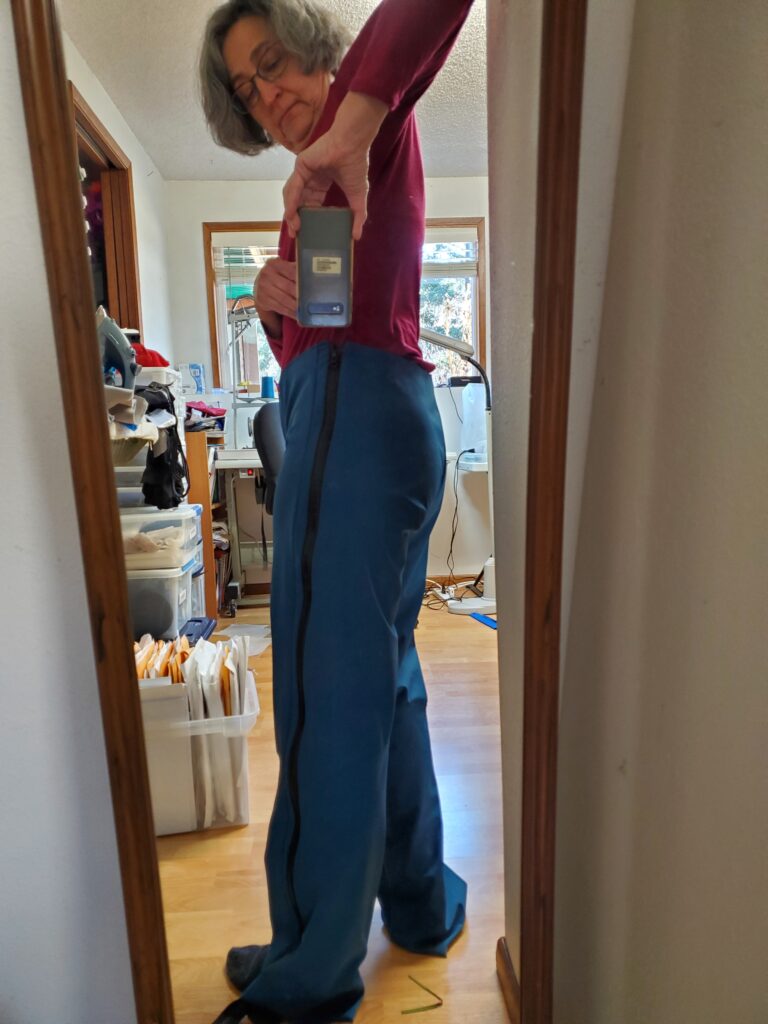
Here is the first mock up. It’s so close!!
Mock up out of a potential real fabric: Polartec Powershield from Discovery

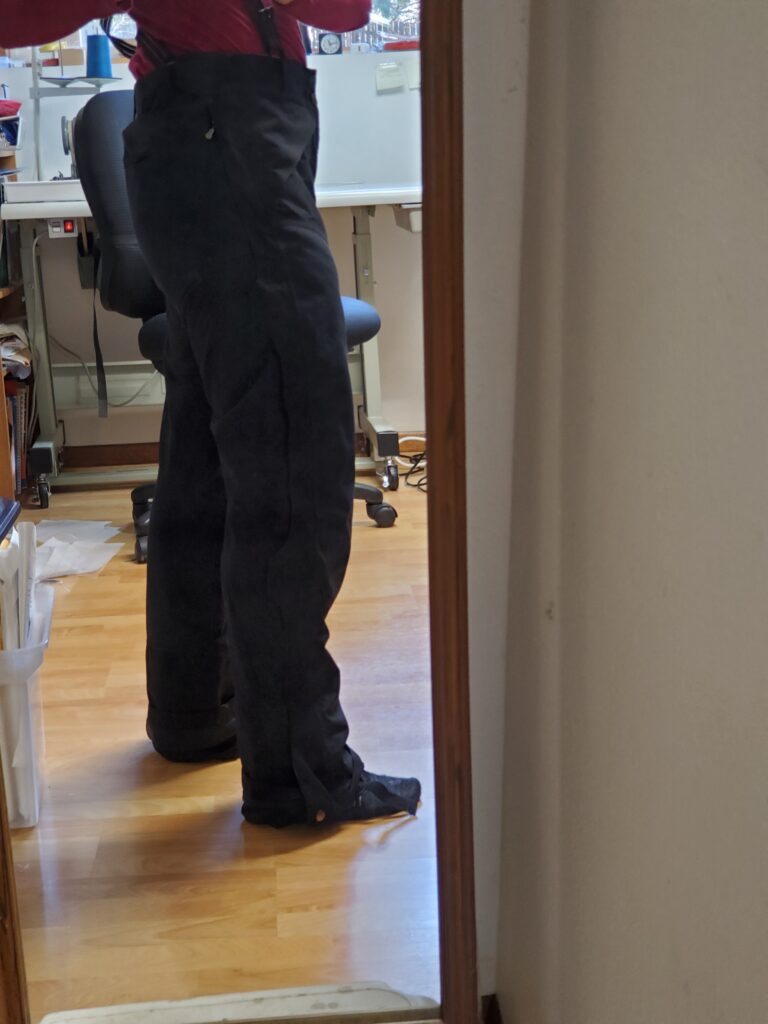
Side view of Polartec Powershield mock up


25 year old Patagonia guide pants.

This fall I will make a finished pair with all the details out of Polartec Neoshell from Discovery Fabrics.

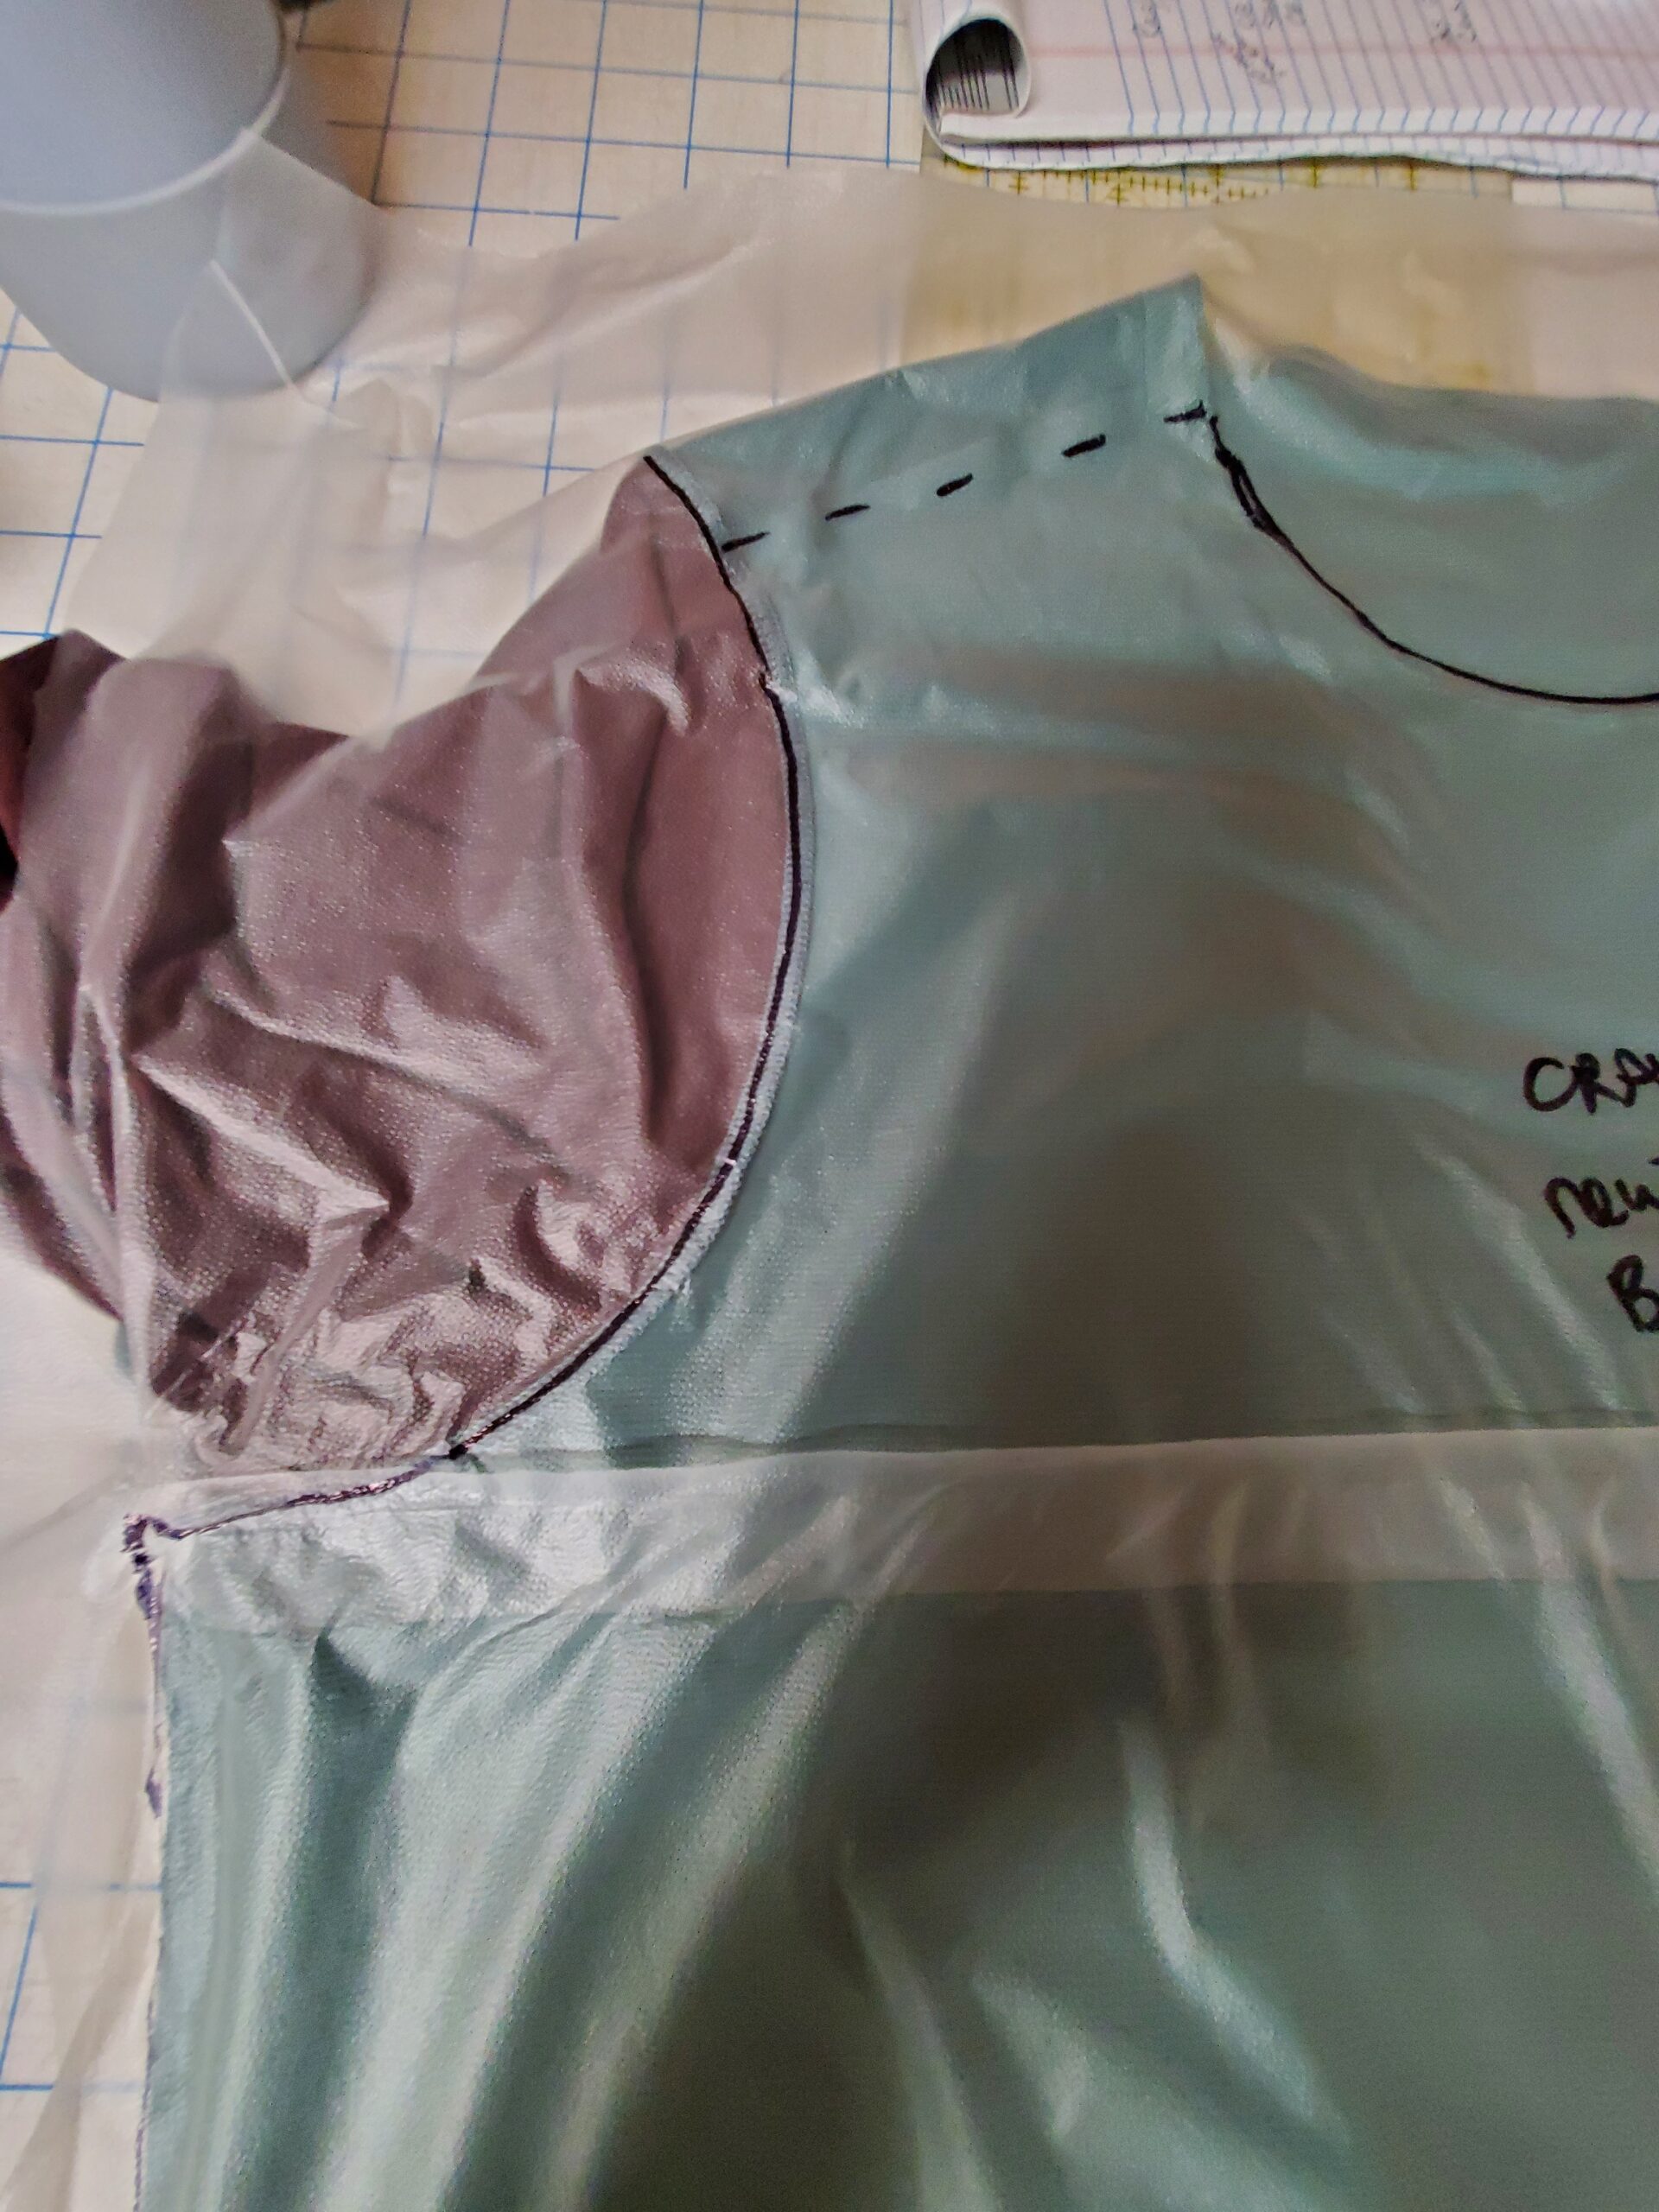
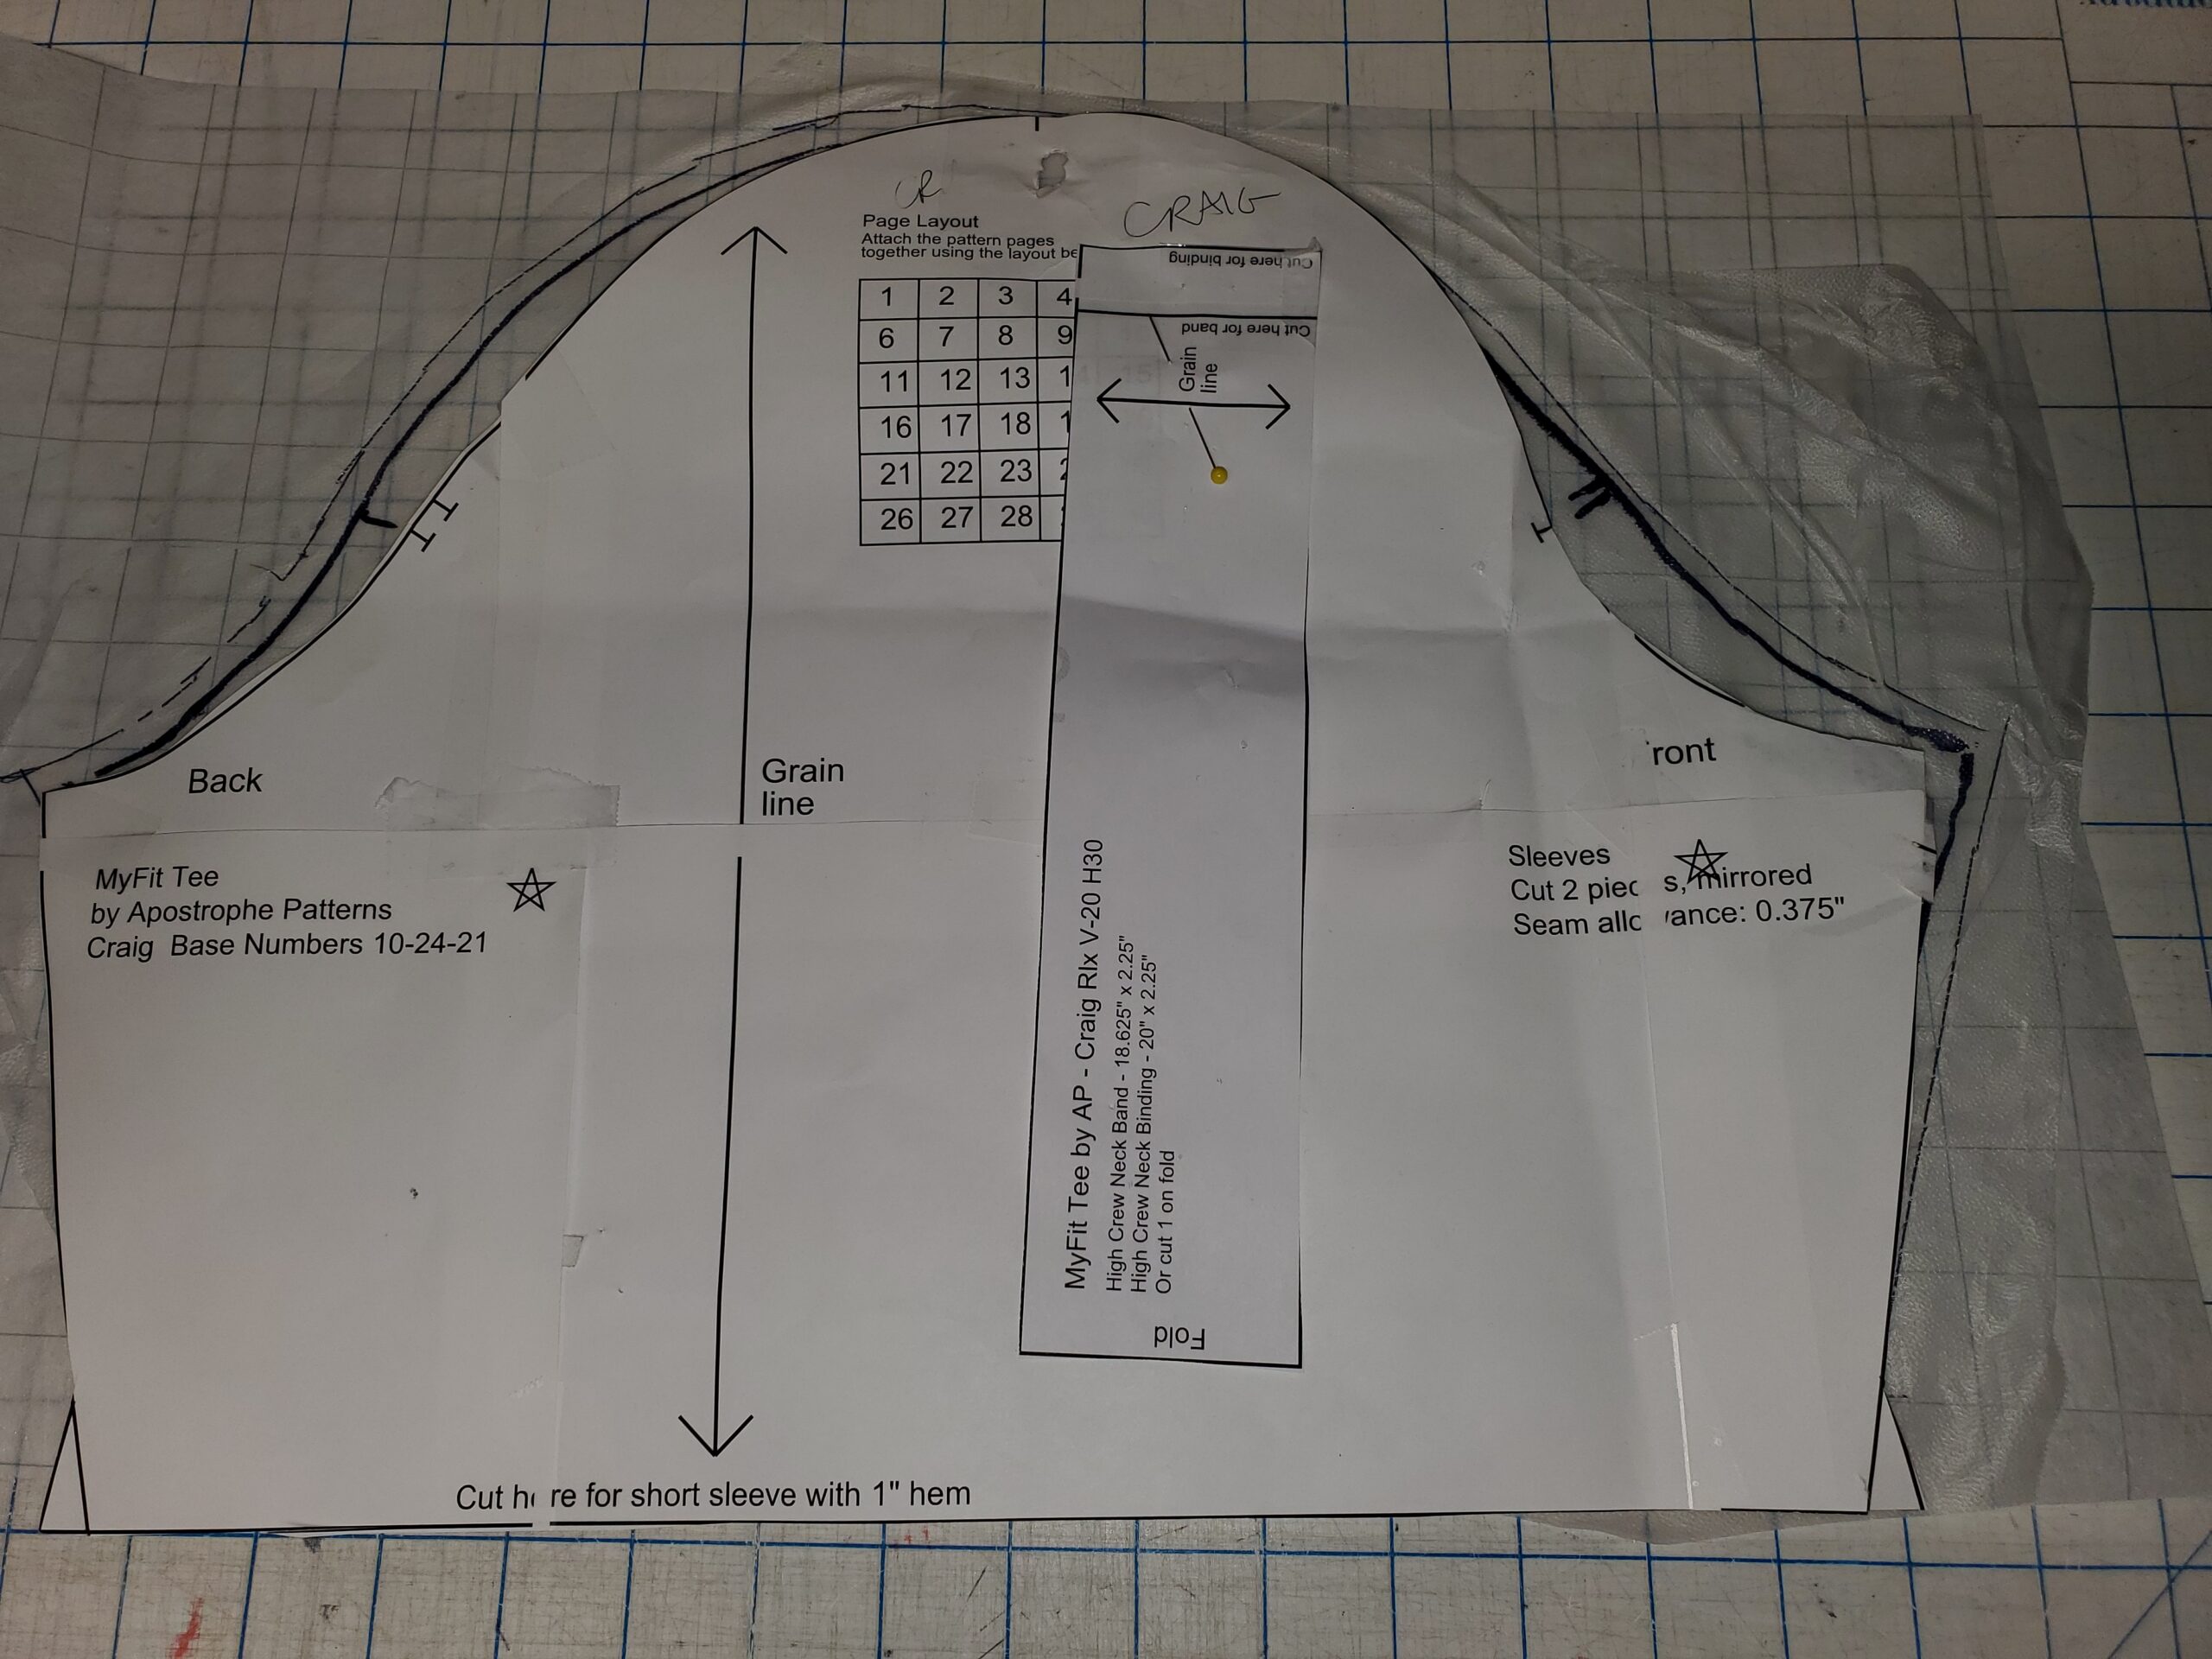
Update: I tried this technique copying a favorite wicking bike T of my husband’s. I was problem solving a sleeve issue, and copying this well fitting T was my solution to analyze sleeve problems in other patterns..
Base Layer Zip and Collar Burrito Finish, Revised With Video

Hello! Here is the updated version of this tutorial, originally posted in 2002. I’ve added video segments that I hope you will find helpful. Link to full (32 min) video here. I suggest you watch the videos in addition to reading the photos and text. This tutorial is a mix of the old material and new and is not quite as seamless as I would wish. I recommend you read, look at photos, and watch the video.

If you are looking for a smooth, foolproof way to insert a zipper into knits or base layers, look no further. I will show you how to do an enclosed inside finish, even and matching seams, and a very tidy zipper insertion. You can use this technique with almost any zippered collar: base layers, vests, jackets.

Note: if you are making a jacket or vest with a full length zipper, you can skip to Part 3.

Thanks to Jalie Patterns for the the zipper insertion technique. 

Introduction to burrito collar finish

Part 1, prepare to insert the zipper

demonstration of how to measure/mark the zipper placement

(CF=Center Front, WS=Wrong Side, RS=Right Side)

Adjust, layout and cut your pattern as usual. Figure out how long you want the front zipper to be, and mark the CF. Keep in mind collar width added to the front panel for the length of the zipper. Mark CF with dots and a 2″ slash at CF.

Sew sleeves, back and collar on. Do not sew side seams; you want to work flat.

More on determining length and marking of zipper

Check length of zipper against collar fold point and your marks.  I have the collar fold marked with a pin. This is the final width of the collar.

Now, noting the exact placement of bottom zipper stop, mark bottom of the zipper with a pin:

How to mark and stablize the bottom of the zipper

Turn zipper RS down and going the opposite way it should, on the RS front. Secure the zipper.

Where you have bottom of zipper marked with a pin, use a couple of pieces of clear tape on the WS. This will act as a stabilizer when you sew the bottom of the zipper. 

Part 2, sew the zipper

Stiching the bottom of the zipper

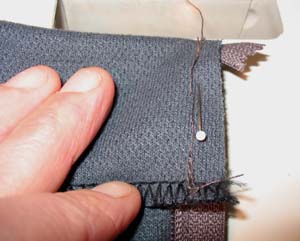
Now, stitching very carefully, stitch across the bottom of the zipper, Next to the zipper stop. The RS of shirt up, zipper is RS down and pointing the wrong way. You will stitch next to the bottom of the stop, just as wide as the coils of your zipper, no wider. Take just a very few stitches, and backstitch. Even as pictured I took a few too many. You just want to secure the end of the zipper.

Then, you will carefully cut down the CF of your shirt from the slash at top CF, making a “>” at the end of the zipper. Clip EXACTLY to the edge of your stitching and make sure the legs of the  “>” are longer, not shorter.

For the next step of actually sewing the zipper tape to the fabric, a nifty notion called Wonder Tape is very helpful. It is washable, and really keeps knits from distorting during this step.

Using Wonder Tape to secure the zipper

Apply the Wonder Tape to the RS of the zipper. Turn the long cut edge of the fabric and press carefully to zipper tape to secure, making sure there is no distortion. Do not stretch or distort. Now stitch carefully, starting exactly at the apex of the “V” cut. Use the zipper foot to get close to the coil. Note that on the grey fabric, the edge of the fabric opening is placed only part way to the edge of the zipper tape. This is done deliberately as placing the cut edge at the edge of the zipper tape will take up to much seam allowance. Stitch from bottom to top stop on both sides.

Note: Normally I teach to sew the zipper with the fabric down, zipper tape up for reasons of easing the fabric. In this case, we want to see *exactly* where we are are putting the needle to start sewing from our cuts, and we do this with the fabric side up.

sewing the collar facing to the zipper

Part 3, finish the top of the zipper

If you’ve done the prior steps correctly, you’ll have a zipper attached to main part of the collar. The zipper should stitched up to the top stop, which is just at the desired height of the collar.  Finish the top of the zipper by folding it over twice. You can secure the folds with a pin, then fold the collar facing over the zipper tape, RS facing to RS collar. Make sure the top stop of the zipper is at the fold line for the collar, and that the raw edge of the facing is 3/8″ below the the collar/neckline seam. Using a regular zipper foot, baste the facing into place. Turn RS out and and check that the top stop is where you want it. Then go back and stitch with a zipper foot, from top of zipper to the collar seam, no farther. Do both sides. Check that collar seams and top corners/top stops are even by zipping the zipper closed and checking from the right side. Adjust as needed.

Part 4, the actual burrito

You will really want to watch the video for this part. This is where we make the actual a “Burrito Style” enclosed finish of the facing. Fold the facing to inside. Use a pin to secure it, matching the neck seam line to the seamline of the facing. Make the following marks on the facing and the neck seam: center back, shoulder seams, a point 1/2 way between shoulder seams and center back, and on facing only, exactly where the edge of the zipper tape is.

where to make your marks before you construct the burrito
Getting the burrito ready to sew

Matching the marks, fold the zipper down, and bring the RS collar facing to the collar seam, seams together, RS of collar facing to WS of shirt front body. You may have to “roll” the zipper to enable bringing the facing around. If you have done this right, the zipper is inside. Line up the neck seam with the seamline of the facing matching the mark a the zipper tape and the shoulder seams, secure with pins. The zipper tape and the shirt front will be enclosed in the “burrito”. You should have something that looks like:

Your burrito should look something like:

Your burrito should look like this.

Tips: This is very fiddly so be patient with yourself. Feel for any folds or places where the fabric inside the burrito might be caught with a pin. You can work the start point with your fingers (arrow above) to make sure the seam allowances are flat.

Sewing the burrito

Now, sew your seam. Start at the marks by the zipper tape, then follow over the existing neck seam with the facing, all three layers. Sew at t least to the shoulder seam. Make sure you sew only along the seam allowances, not catching the body of the shirt. Carefully pull on your burrito to turn it right side out. Check for small pleats or catches and fix them if you need to. Once you have it the way you want, press or finger press; you can even topstitch if you want. You are all done!

Tutorial: soft athletic waistband

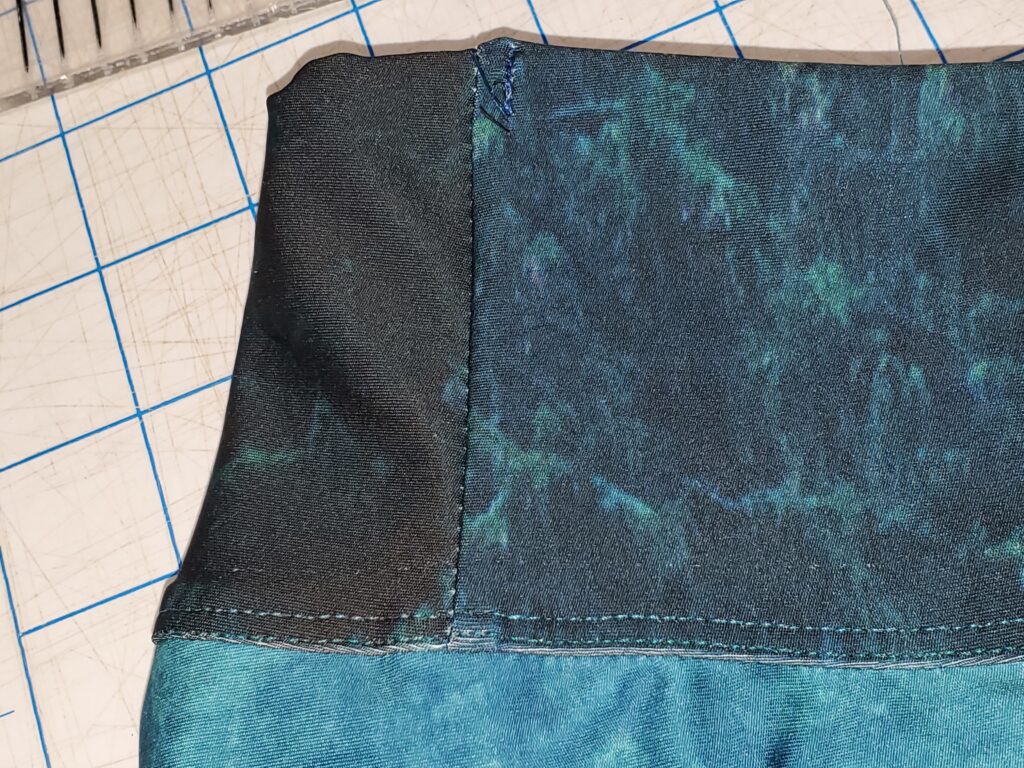
First things first. For the purpose of this tutorial, let’s assume you have intermediate/advanced sewing skills, a sewing machine and a serger. I use a cover hem in the demo, but you can get by with a zigzag machine – see video.
Second, I am assuming that you can construct leggings or any garment that has the typical faced contour type waistband with both inner and outer pieces to the waistband. For this tutorial, you should have your garment constructed to the point where the legs are together and you are ready to put on the waistband.


Note: This technique will “use up” a bit of your waistband. Depending on your fabric, you will lose 3/8″ -1/2″ in height. If this is of concern just add a little bit to the waistband before you cut it out.

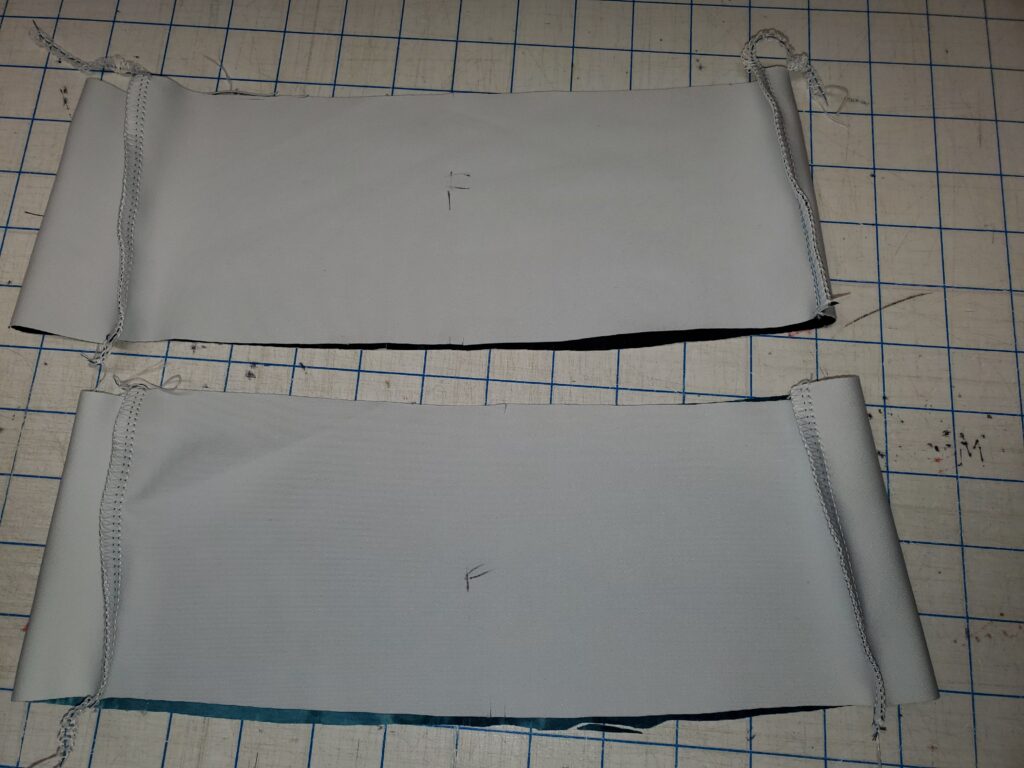
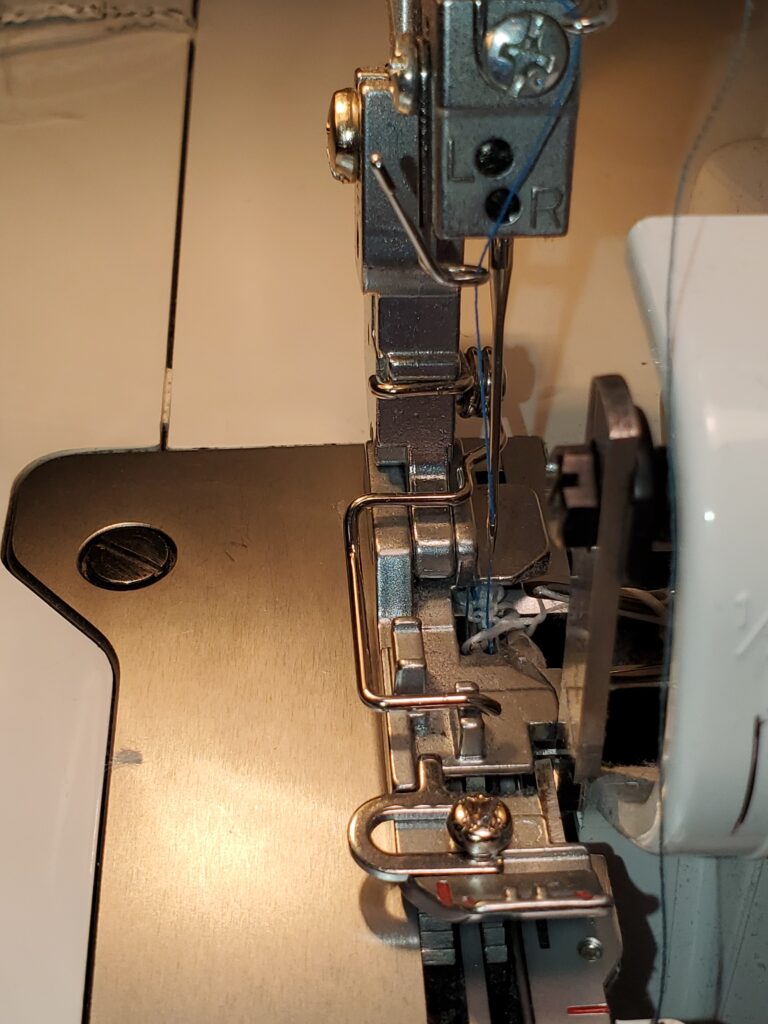
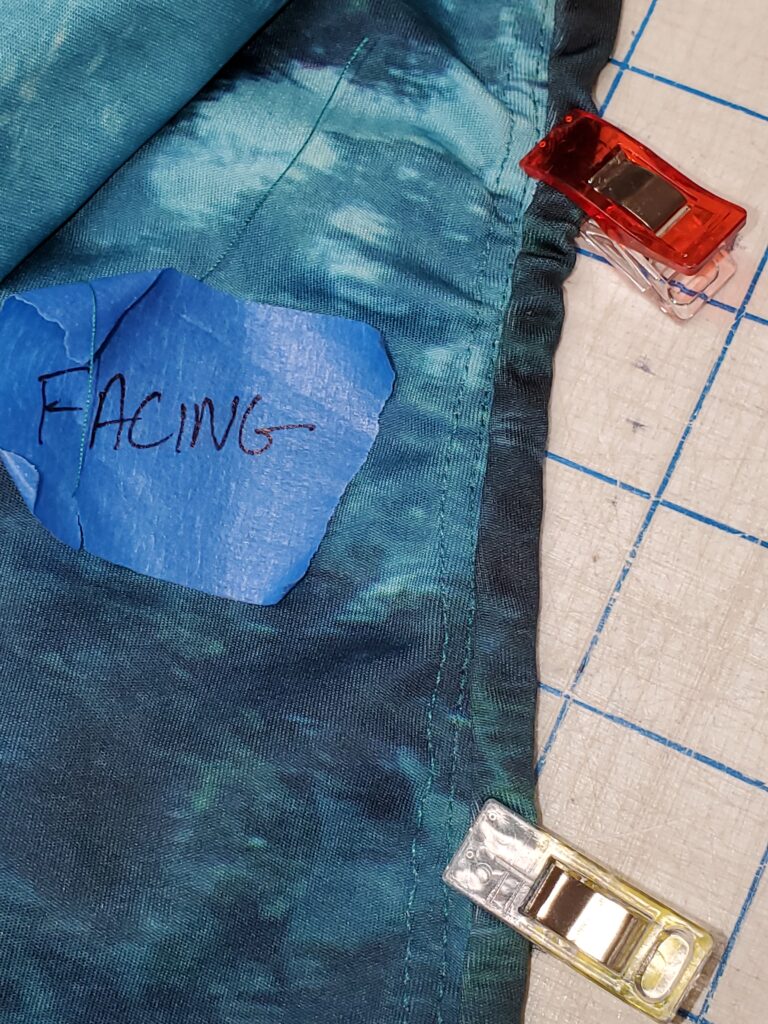
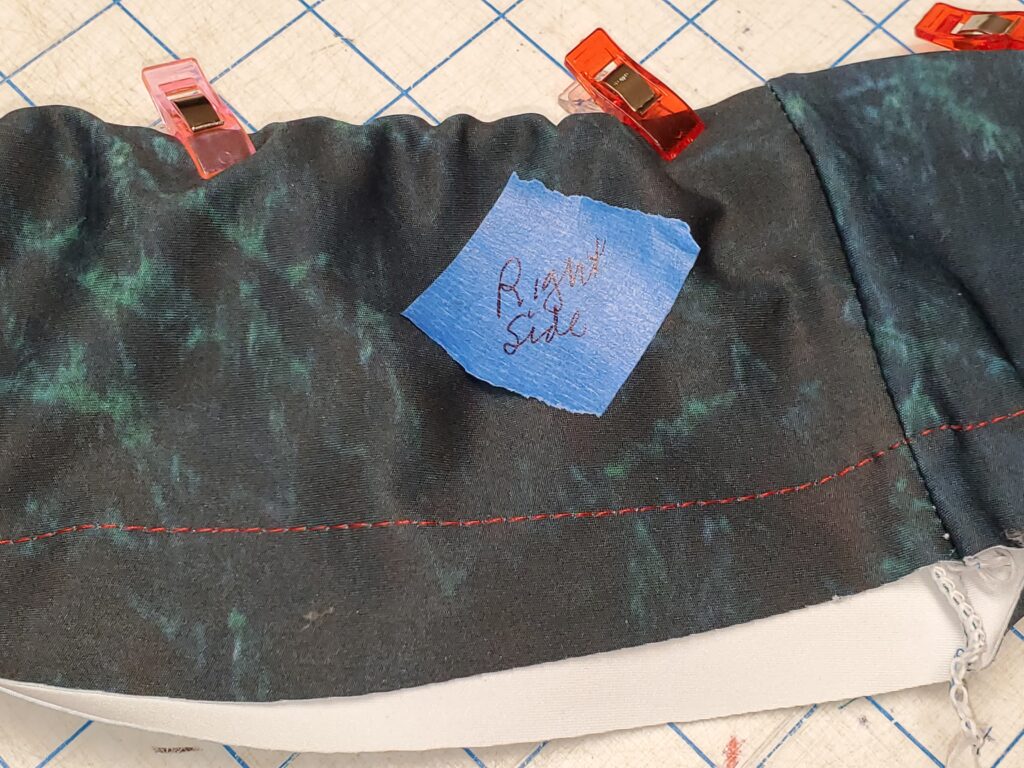
Setting up: Have your waistband facing and outside ready to go. DO NOT TRIM FACING even if pattern directions tell you. You might want to label the facing. Have some 3/8″ elastic ready to go, cut to length. Set your serger up for most narrow single needle seam. You will only be attaching elastic with the 1-needle set up, not seaming.

“f” is for front of waistband. Facing is not trimmed.
Left needle removed for narrow seam. Elastic foot set for 3/8″ elastic.


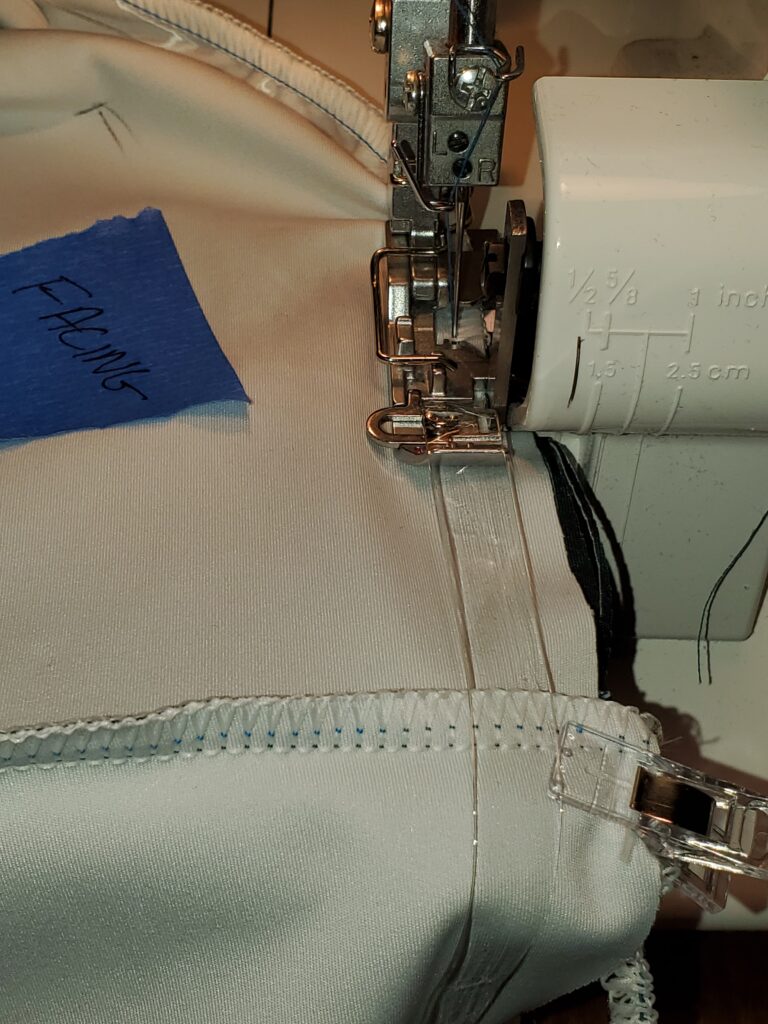
The first thing to do is sew the top of the waistband edges together FACING SIDE UP with your serger. The 3/8″ elastic being inserted along the seam as you go.

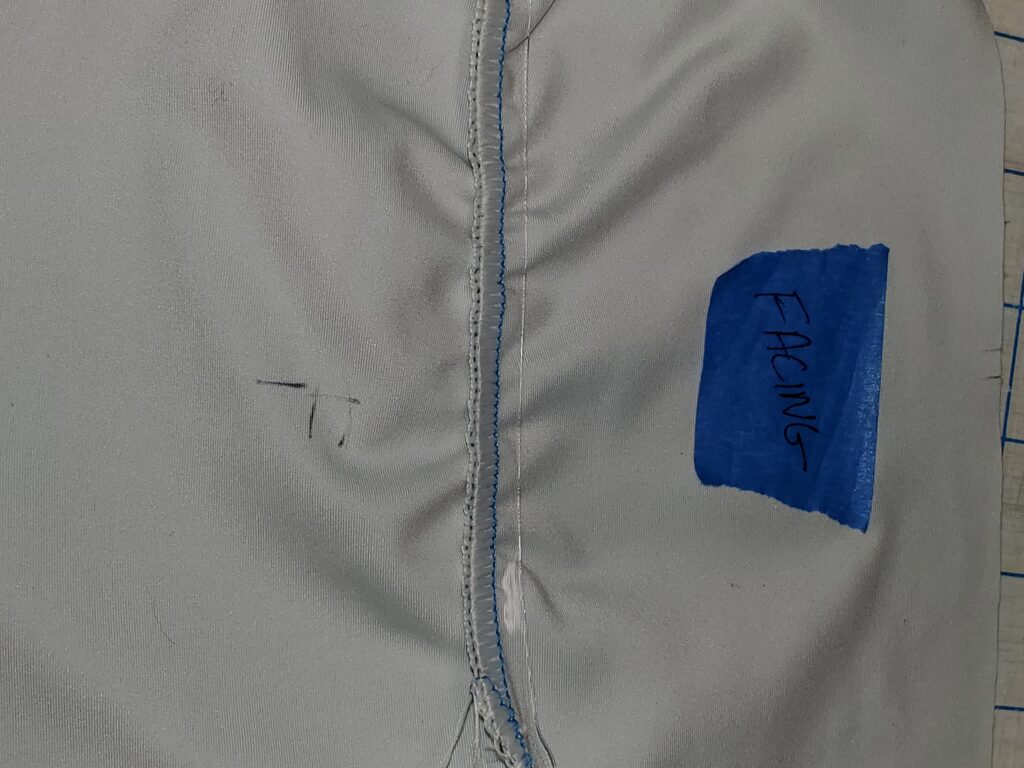
When you are done, it will look something like:

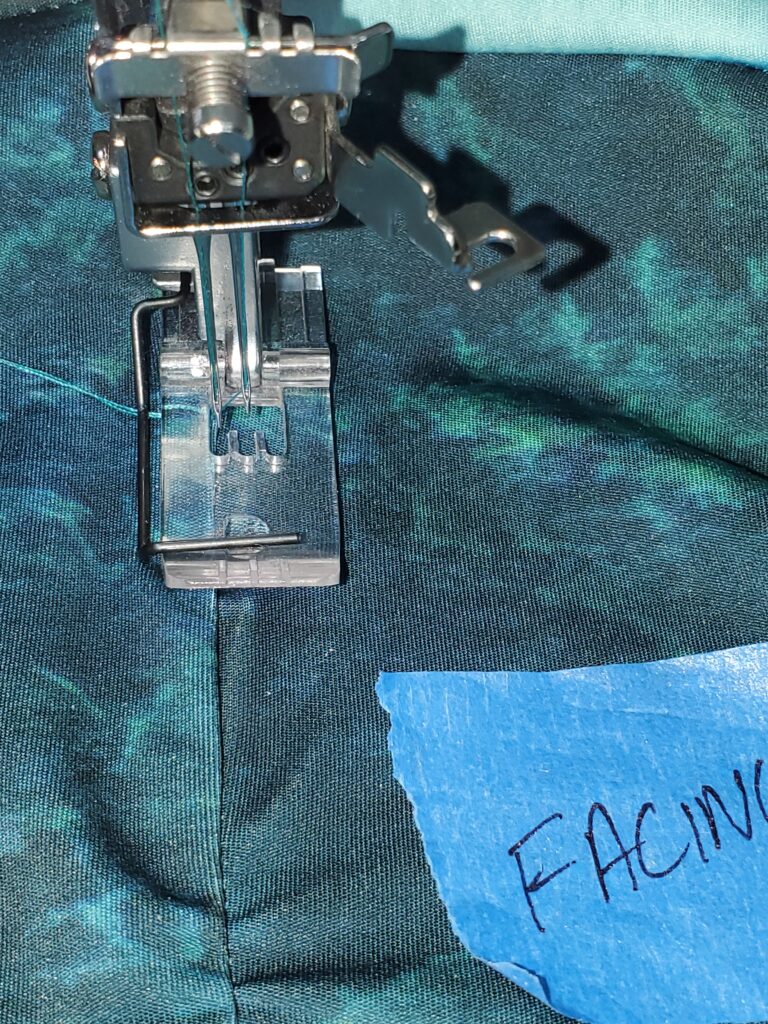
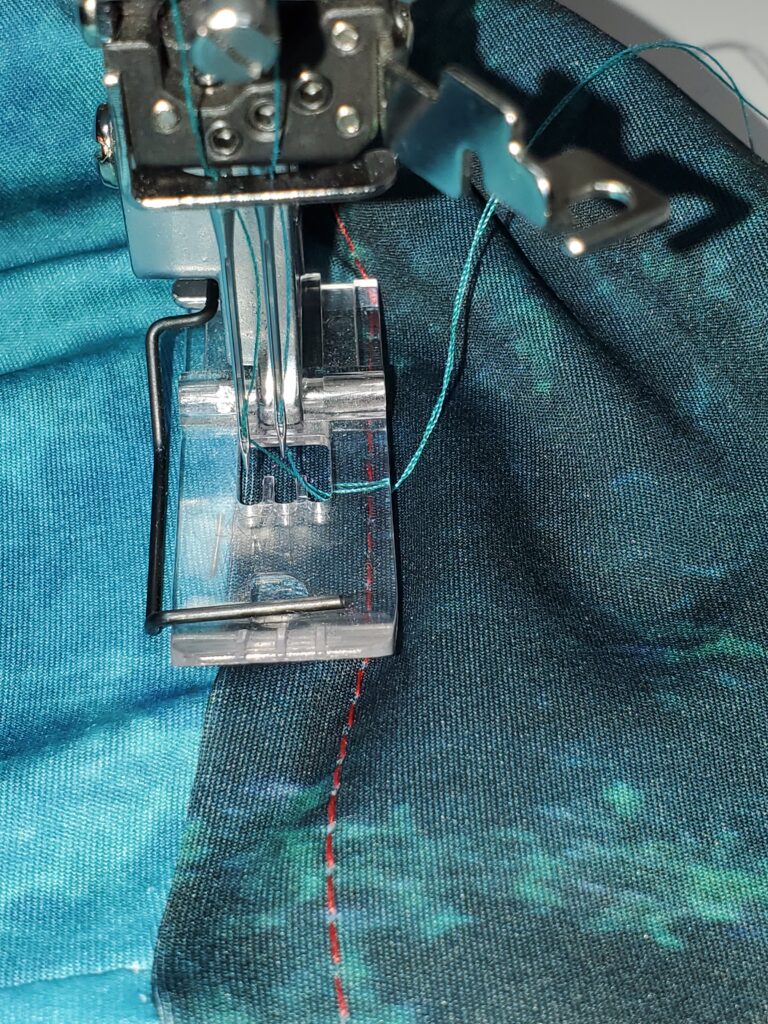
Topstitching: open waistband out flat, set up under coverhem with facing side to the right, left needle just to the right of the seam. Topstitch. Stitching is on facing side only, through the elastic. Details and a zig zag option are in the next video.

After topsitching, roll the right side waistband so it it right side out with a gentle roll around the elastic. Use clips or pins to hold into place.

This video shows all the steps up to this point.

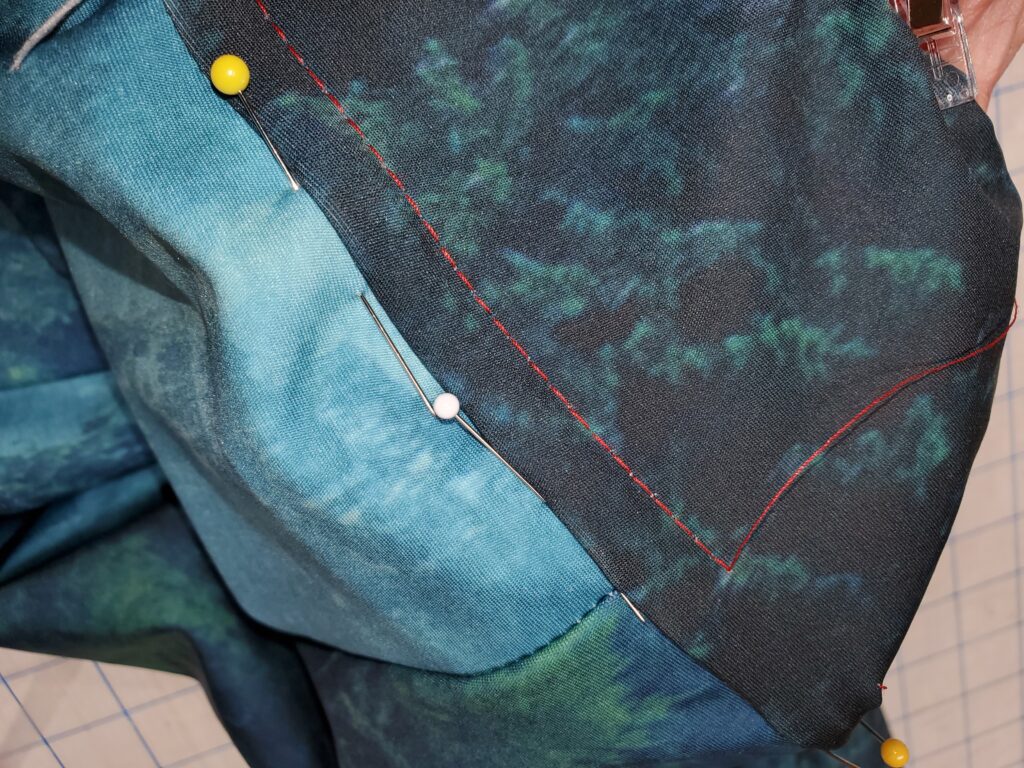
Now that you have the facing right side out and the top clipped into place, you need to secure the layers. The raw edges will be uneven. DO NOT TRIM FACING. Flatten the layers and secure with a line of basting about 1-1/2″ from the raw edge of the outer waistband.

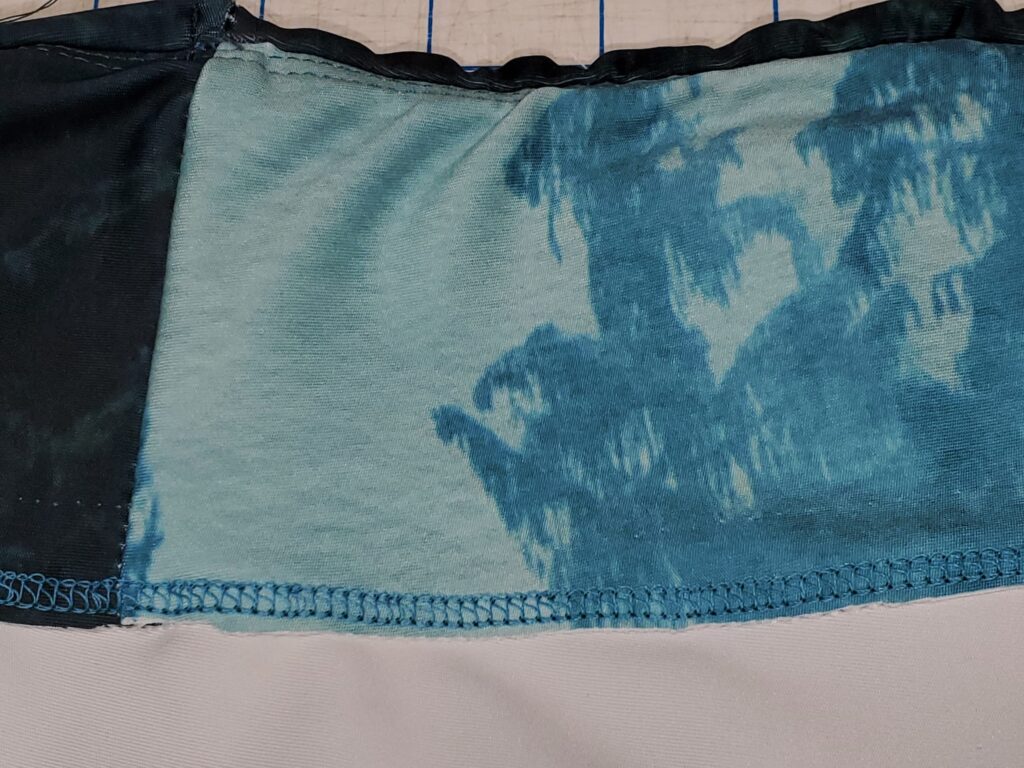
With your serger, stitch right side of waistband to right side of garment. Be careful not to catch facing layer. Flatten the waistband and tuck seam allowance up into the waist band. Secure, making sure the seam is pulled flat.

Top stitch with coverhem through the waistband with the seam tucked inside.

The seam will be fully enclosed. Trim off excess and you are done.

See the last video for details.

All done!! I will play with ways to improve this technique.

Welcome to Tutorials

Seeing as I am semi-retired, I have more time to make tutorials now. I call them my “Keeping It Real” series as in,…. keeping it real. Most our our sewing rooms are not Instagram perfect and I am no exception. I’d rather share my tips and experience when I’ve got the notion than take precious time out to make my workroom look perfect. I would rather spend my hard earned money on more fabric than matching organizers.

I’ve been sewing for 50 years, starting with horse blankets for my Breyer horses, and now slowing down as an outdoor clothing/technical sewing repair expert. I will be sharing what I get inspired to share so check back every now and then. I am learning as I go – both making tutorials and new things to share.

No theme…. just what I am inspired to share. My YouTube Channel has assortment of videos from masks to magnets, and specific tutorials are covered in blog posts.

Why? Read my blog post on Hoarding Information.

Make a Bike Jersey

Base Layer and Collar Finish

Insulated Van Shades with Tabs

Soft Athletic Waistband

Make Lycra Bike Shorts