On the previous page, we installed a zipper into our knit top. Now, how about a nice, finished collar?
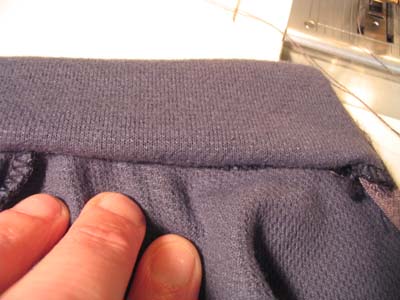
If you’ve done the prior steps correctly, you’ll have a collar attached to your top, and the zipper should be about halfway up the collar, with the top just at the desired height of the collar. On some patterns you may want to trim the collar down. If you have a 5/8” seam allowance, trim at least ¼” off the edge. Serge the cut edge. I like a pretty narrow (mock-T-size collar) so I always cut the collar down. Note top of zipper at halfway to desired collar width.

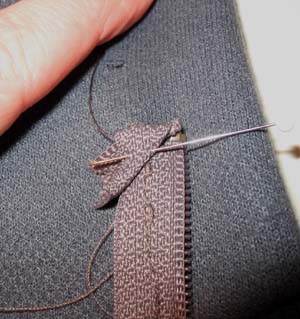
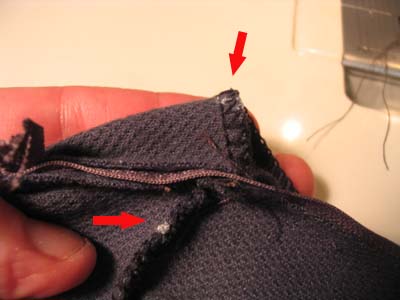
Once the collar is trimmed, finish the top of the zipper by folding it over twice. You can secure with a pin, and then fold the collar facing over the zipper tape. Make sure that the top stop of the zipper is at the fold line for the collar, and that the serged edge of the facing is lined up with the collar-neckline seam. Then, stitch carefully, using zipper foot, just to secure the collar facing.
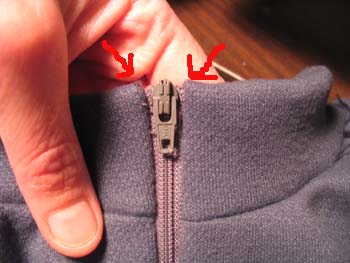
Do both sides. To check for evenness, zip the zipper closed and compare top stops.
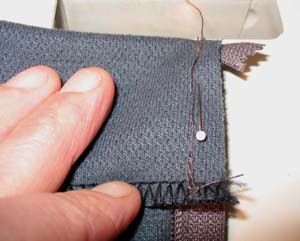
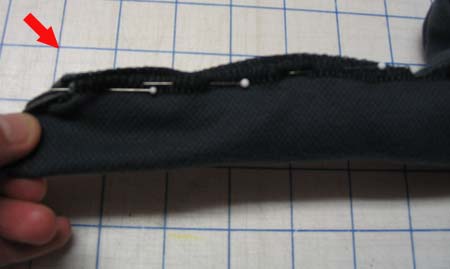
Now for the fun part. We are going to do a “burrito style” enclosed finish of the facing. Fold facing to inside. Use a pin to secure about 3/8 from the edge of the zipper, and a chalk or other pencil to make visible marks for that point on both the collar and the facing. You might also want to make a marks on the collar facing where it meets the shoulder seam (not pictured)

Make sure you’ve got both the facing and the collar marked:
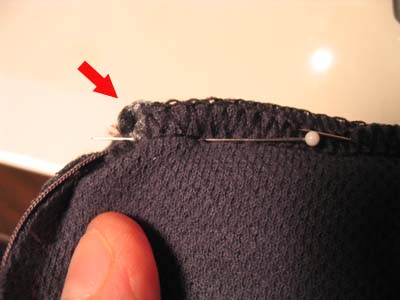
If you have ever done a dress shirt collar and stand, the following may be familiar to you. Matching the marks, fold the zipper tape down and bring the collar facing to the collar seam, seams together, RS of collar facing to WS of shirt front body. Match your marks, and secure the two seams together. The zipper tape and the shirt front will be enclosed in the “burrito”. You should have something that looks like this:
Continue to pin, securing seams all the way to the where the shoulder seam intersects the collar, if not farther. Keep checking to make sure the shirt front and the zipper are not getting caught.
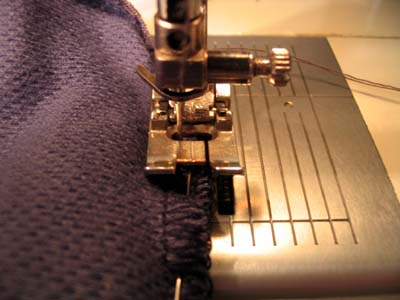
Close-up view of the start:
Use a narrow to medium zig-zag stitch, and sew your burrito. Start at the chalk marks and sew the two seam allowances together. Do not stitch inside the seam line; stitch right next to it in the seam allowance.
Go as far as you can before you get to so much bulk that you have to stop. On most fabrics, you can go at least to where the shoulder seam meets the collar, and on light fabrics, you can go farther. So go as far as you can, then back tack. Carefully undo the burrito, checking to make sure you haven’t made any pleats. If you have done it correctly, you will have a nice finished facing. After you have burritos both sides, to finish the CB part of the facing, just lay the collar facing edge on top of the collar seam edge and stitch together.