
As a lifelong sewist, of course I want to make my own van shades instead of paying someone else. I looked at a few different products both online and in person, and decided “why not?” I have access to materials, skills, and time so here goes…
This is what I came up with for the first iteration. These mount over recessed back door windows, taking advantage of the dead air space for insulation value and the steel to fasten magnets to. This tutorial is for what I will call a tab mount as pictured below. I will be experimenting with snap mounts and flush mount later. Update: new magnet videos added at the bottom of the tutorial.


Not too shabby for v1, eh? I am happy to walk you through what I did. I have lots of different windows in my van, and as I learn more and try things I will add to this tutorial. Why a tutorial? Read my blog post on Hoarding Information… this will explain a lot of where I come from.
About this tutorial and videos: I don’t have a sewing channel. I’m not about a slick set up to get followers. I just want to share what I know and help you to do it better. I jokingly call my videos “keeping it real” because I don’t have coordinated craft containers with a designer look and I don’t have VLOG set up. I have a busy workroom in my basement where I have many personal and work projects going at any given time. I’d rather make a video while I am working than take the time to make my workroom look picture perfect. I hope you find something useful here.
Let’s Get Started!!
First, equipment:
- Sewing machine, walking foot recommended. New needles size 90.
- Spray adhesive, repositionable type for fabric (quilt shop)
- Craft clips
- Straight edge
- Pencil
- Shears/snips
- Blue tape
- Flat surface for layout, marking etc.
- High quality thread
- Flat surface for cutting
Tips: A walking foot attachment, or a machine with a built in walking foot, will make working with layers much easier. Layers tend to shift when the feed dogs are only on the bottom. Most home machines have an attachment you can borrow or buy.
Materials – links at bottom of list
- Inner/outer cover: 1.9 oz coated ripstop from OWF
- Insulation: Warm Window from Joann or 200 wt. Thinsulate from OWF
- 1” grosgrain ribbon, OWF
- 1-1/2” grosgrain ribbon, OWF
- 1-1/4 or 1-1/2 webbing OWF
- 1” Velcro hook and loop OWF
- 1” grid pellon for patterns, Joann
- Magnets, 60 x 10 x 3 mm neodymium magnets for tabbed shades; Applied Magnets
Suppliers:
Note: I am not an engineer, so I didn’t spend a lot of time trying to puzzle out R value information. Warm Window is a tried-and-true window product. Joann regularly puts out 40% off coupons so I thought I would start with it. I was concerned it would be bulky but I think it is OK. I opted for ripstop covering instead of a cute print as I am very concerned about condensation.
One reason I started with tabs is that getting magnets that are small enough to insert into a binding (for a flush mount) that aren’t super expensive is a challenge. Wider ones that need tabs are easier to find. (.40 each vs $3.50 each!!)
1. Measure: Measure the window opening in the door, not the window itself. Add ½” or more all the way around (total 1” or more additional in length and width). This will depend on how much you want the shade to overlap the steel around the window. I find it helpful to use 1” grid Pellon for patterning as you can keep your pattern squared up accurately. Draw out your measurements on the Pellon. Cut out pattern, mark where you think you want your magnets to go. There will be now seam allowance: this is the finished size of your shade.
2. Cut: Cut each layer of material out. Do not use pattern for cutting yet. Cut layers larger than you need. Example, If your window is 24” x 24” cut pieces 30 x 30. Cut all pieces (inner, outer, insulation). This is insurance. You need a bit of a margin when working with layers.
Tip: Measure twice. Measure three times! No kidding – once you cut, you are stuck with it.
3. Layout and stacking: Using your flat space, lay out newspaper to protect from overspray. Using blue tape, tape outside layer right side (RS) down to table, smoothing out wrinkles. Spray with fabric adhesive. Add your next layer, the insulation, with the side you want out facing down to the wrong side (WS) of bottom layer. If you are using Warm Window, the Mylar should be down towards the outside; quilted side up. Make sure there are no wrinkles. Spray with fabric adhesive. Add top layer, the one for the inside of the shade, right side up. Make sure all layers are aligned straight and evenly. Reposition anything if you need to. Make sure everything is smooth and press together with your hands. This technique is the same with any insulation you might use.
4. Cutting. Layout pattern centered on all three layers. Make sure there is excess in every direction. Make sure pattern is aligned to fabric grain. You may pin through all layers at the edge. Cut all layers at once with sharp shears. Use craft clips to secure the edges all the way around so you can baste them next.
5. Baste cut edges by stitching close to edge (1/4”) with long stitch on sewing machine. If you have a walking foot, use it as it will help feed the layers more efficiently without shifting.
6. Determine quilting pattern. If you are using Warm Window you can match the quilting for folding with the lines manufactured into the insulation. Quilt line spacing will depend on how you want to fold the shades. Mark quilting with a long straight edge. Do two parallel rows, 1/8” to ¼” inch apart for best folding. Quilt.
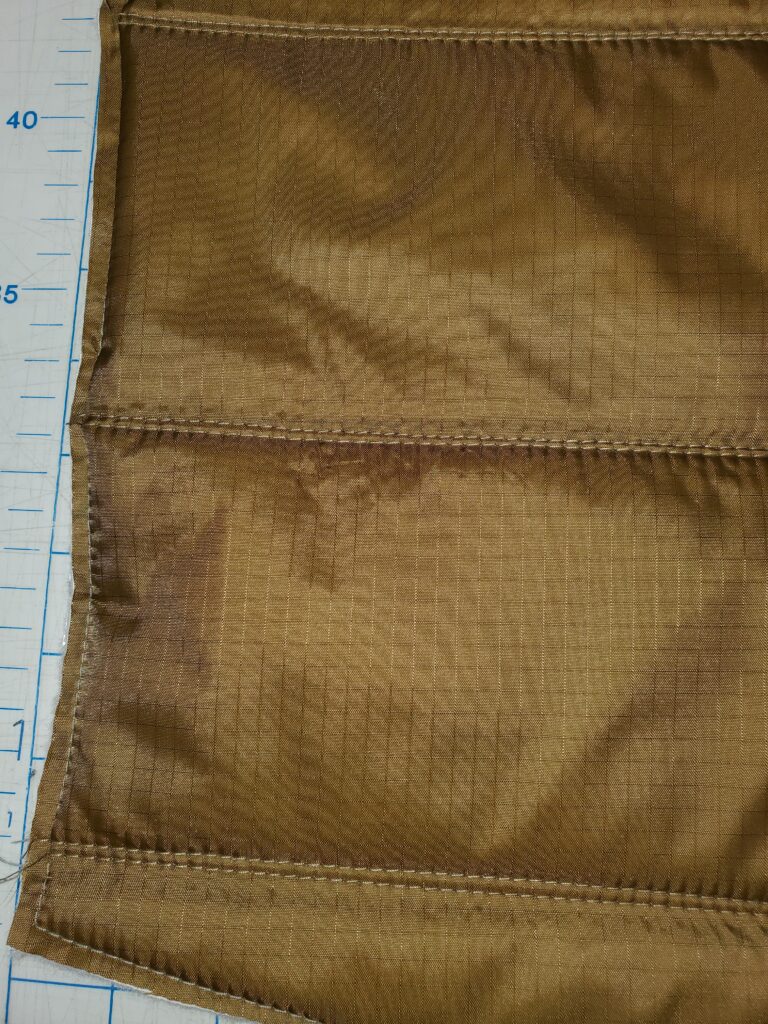
Tip: Don’t be in a hurry. Make the time to double check your work each step of the way. Did you miss a place? Is anything missing/backwards/upside down?
Make Tabs:
You need to determine magnet spacing for your tabs and make the tabs. I used 60 x 10 x 3 mm neodymium magnets and made my tabs 3” wide. To make tabs:
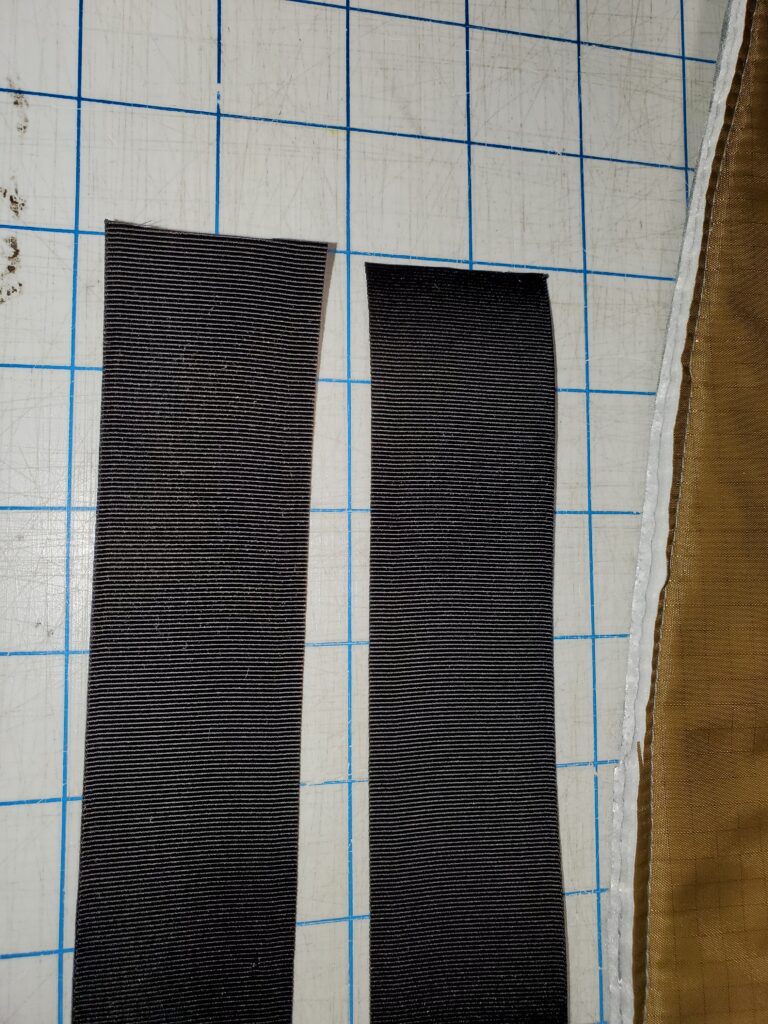
Cut 1.5” grosgrain. You will need 6” per tab. Example: 10 tabs, 60” of grosgrain.
Cut 2 strips 30” long.
Stitch together by overlaying the long edges,
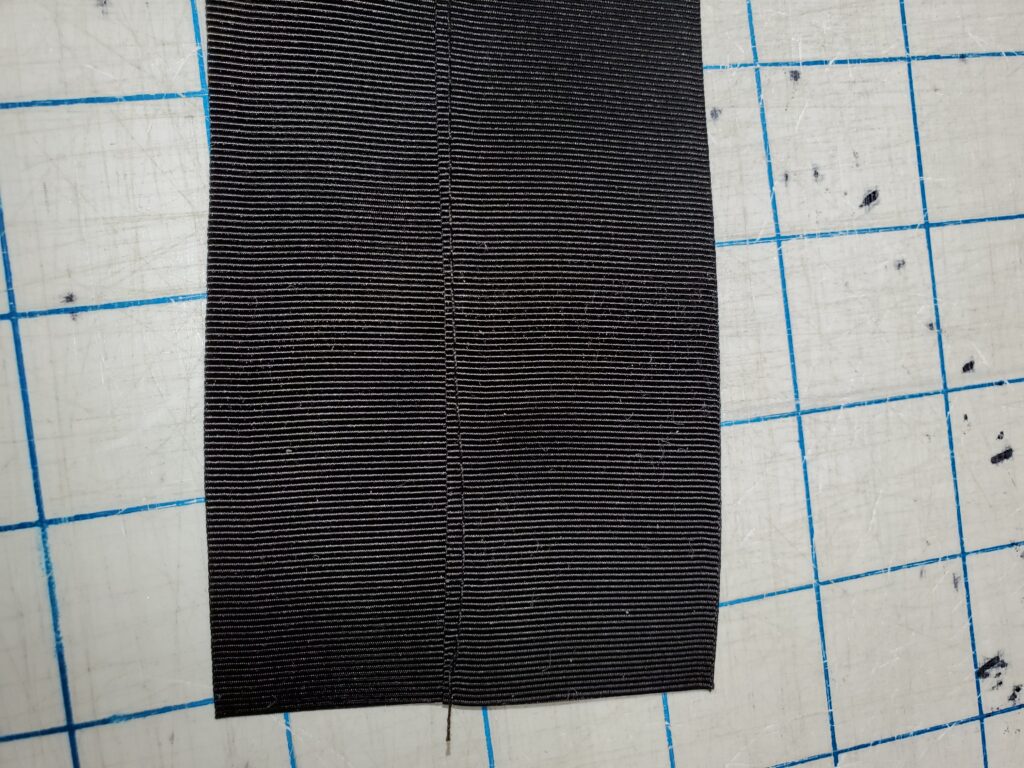
Cut into 3” strips.
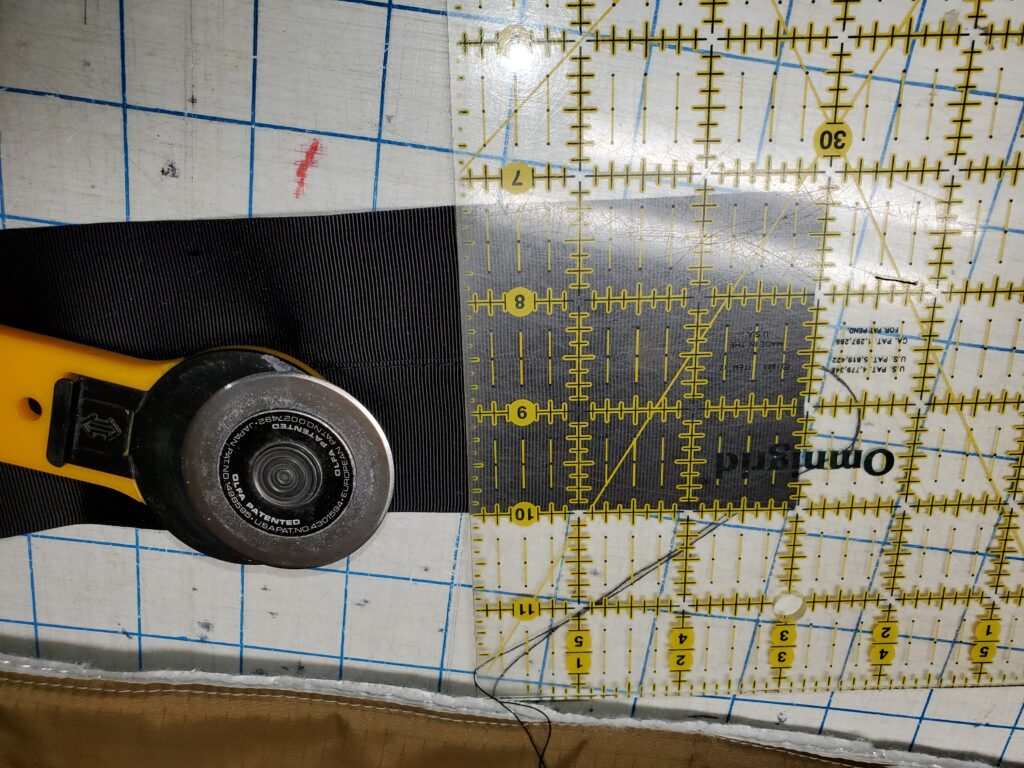
Fold each piece in half and stitch the short ends closed.
Separate magnets and get them ready to insert into tabs.
Clip tabs into position on outside of shade.
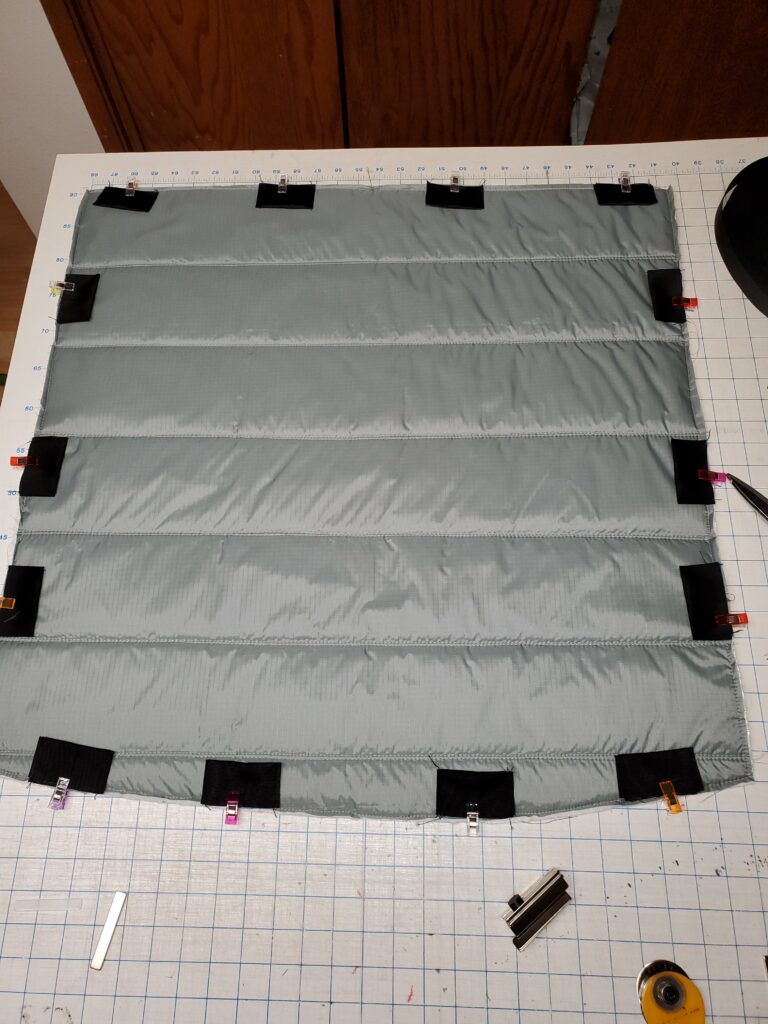
Sew tabs into place, inserting a magnet in each one as you go around. Make sure to tuck the magnet into the pocket and DO NOT SEW OVER MAGNET.
Next, get your straps ready. These are the ones that will hold the shade when it is accordion folded up. You will want a longer on on the outside, shorter one on the inside.
Getting ready to bind and binding:
By now you should have a finished shade! Check it for missed catching of Velcro, straps and binding. Everything oriented correctly? Clip all your threads, and go test it out!!! Does it fit? Pull it flat and make sure it’s squared up evenly around your window. What do you think?
As I do more research and develop my own ideas, I will be sure to add to this tutorial. Happy sewing! #vanlife
UPDATE: I’ve added two video about magnets and how to install in the edges. Note on magnets – I say a couple of different sources, but this is what is correct: 1″ x 1/4″ x 1/8″ is what fits in the binding. I have only found these at Applied Magnet. Amazon has all sorts of magnets, but not these. Here’s the link:
1″ x 1/4″ x 1/8″ Neodymium magnets