
Time to finish the shorts by adding elastics. The quality of the elastic does matter. I recommend the 1″ no-roll for the waistband.
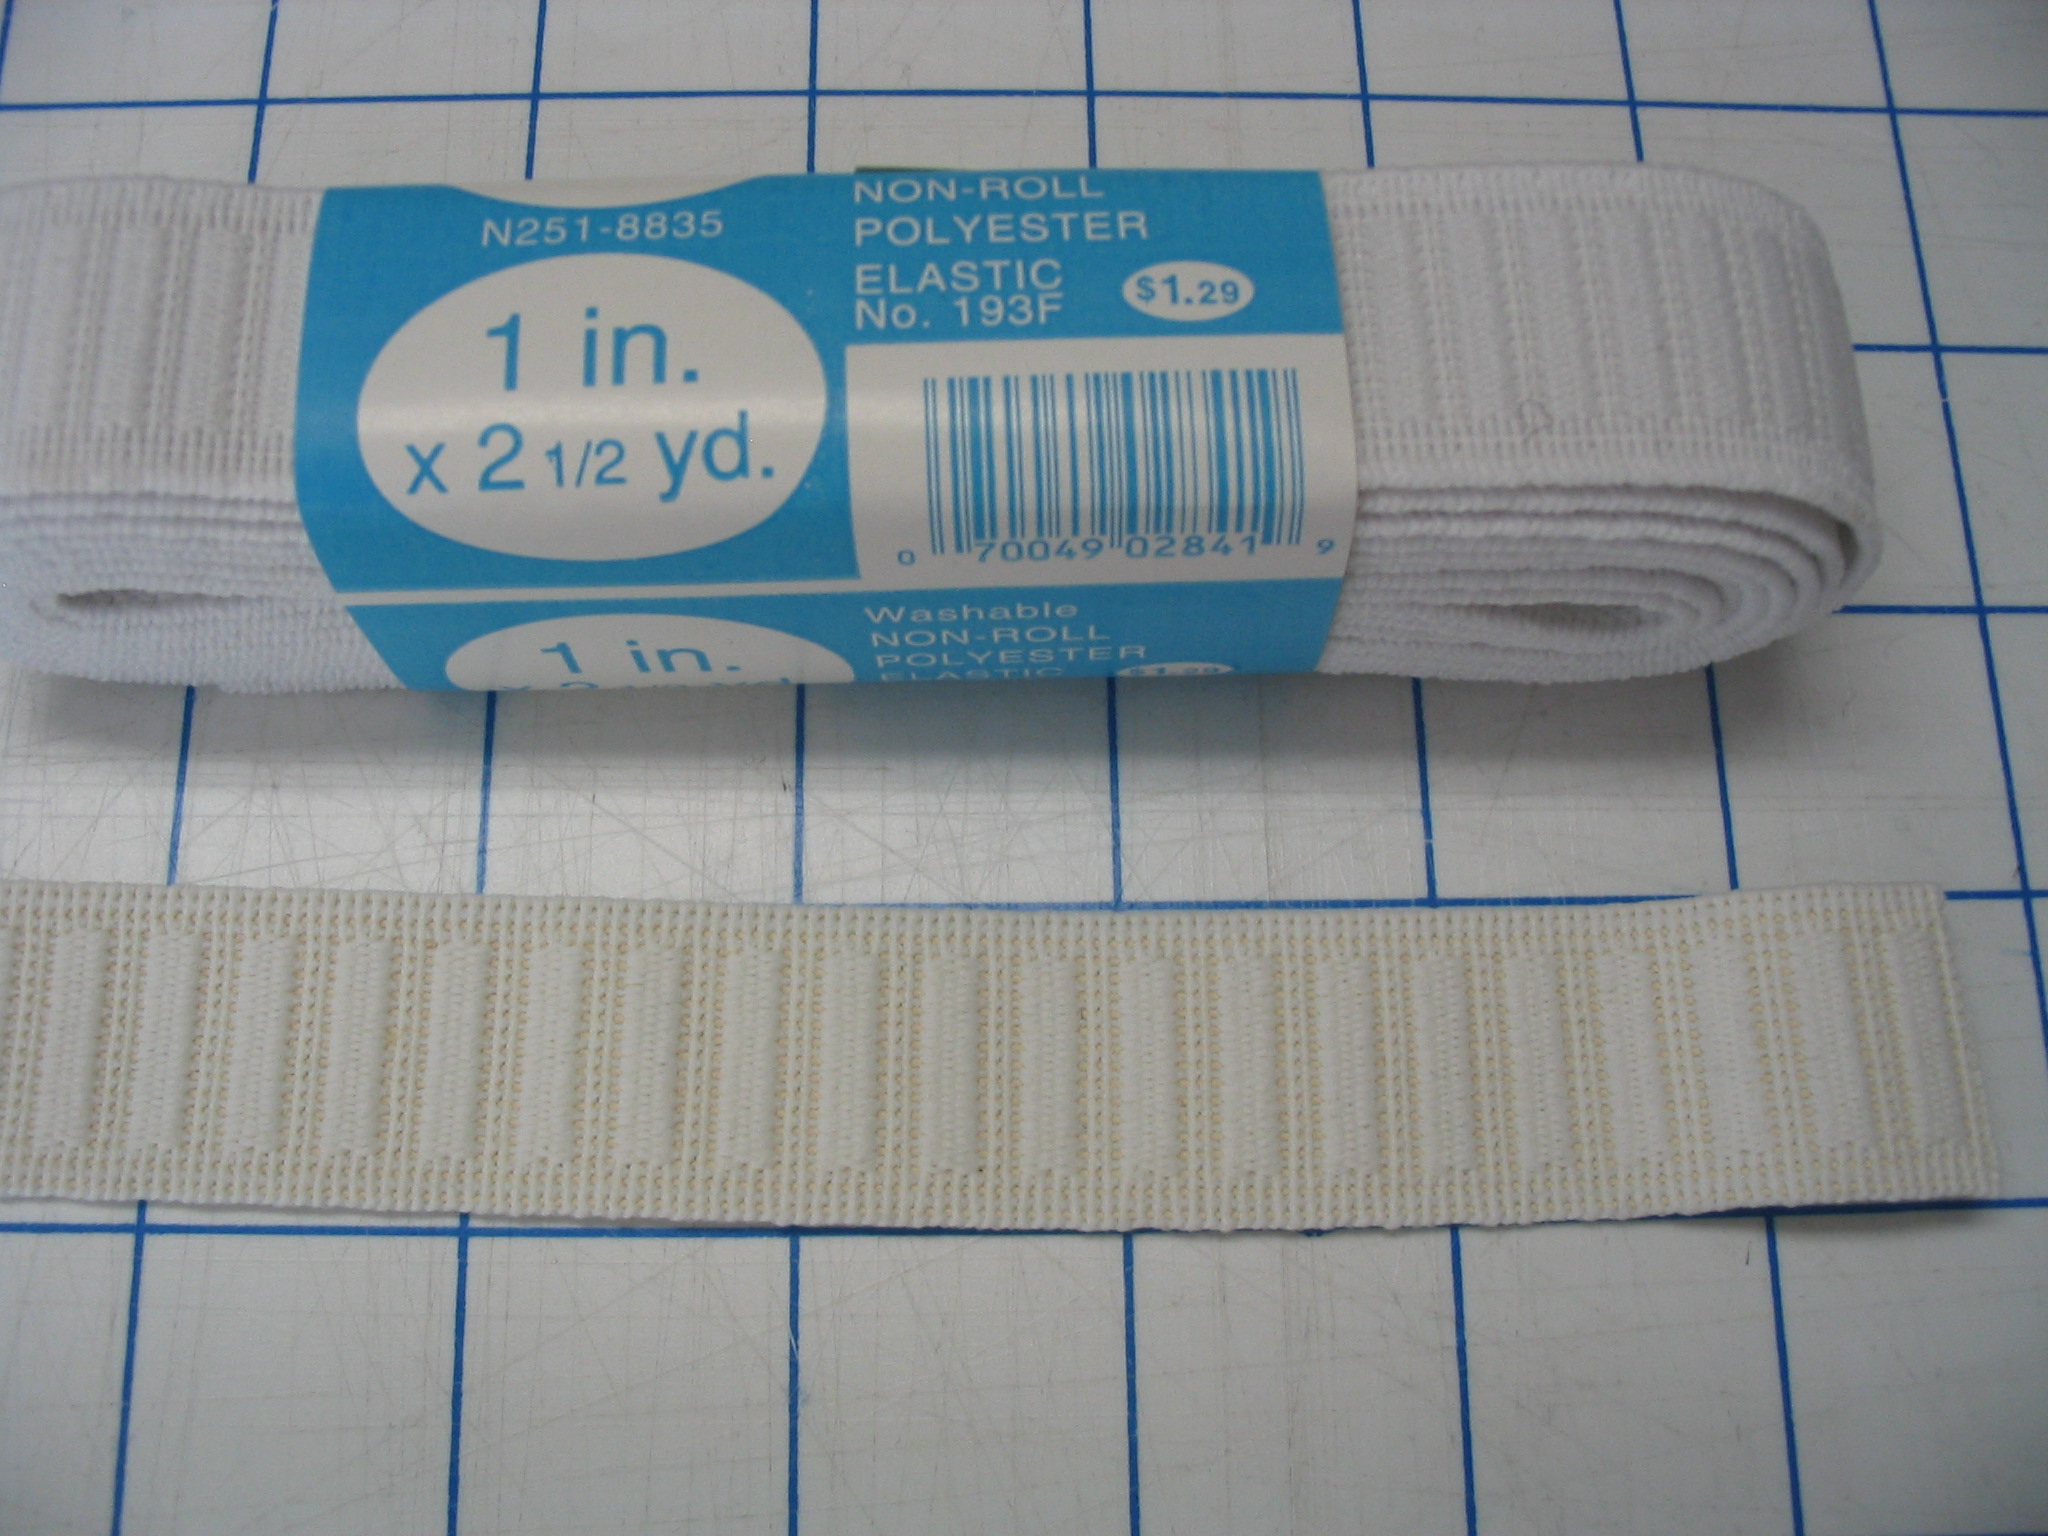
1″ non roll elastic
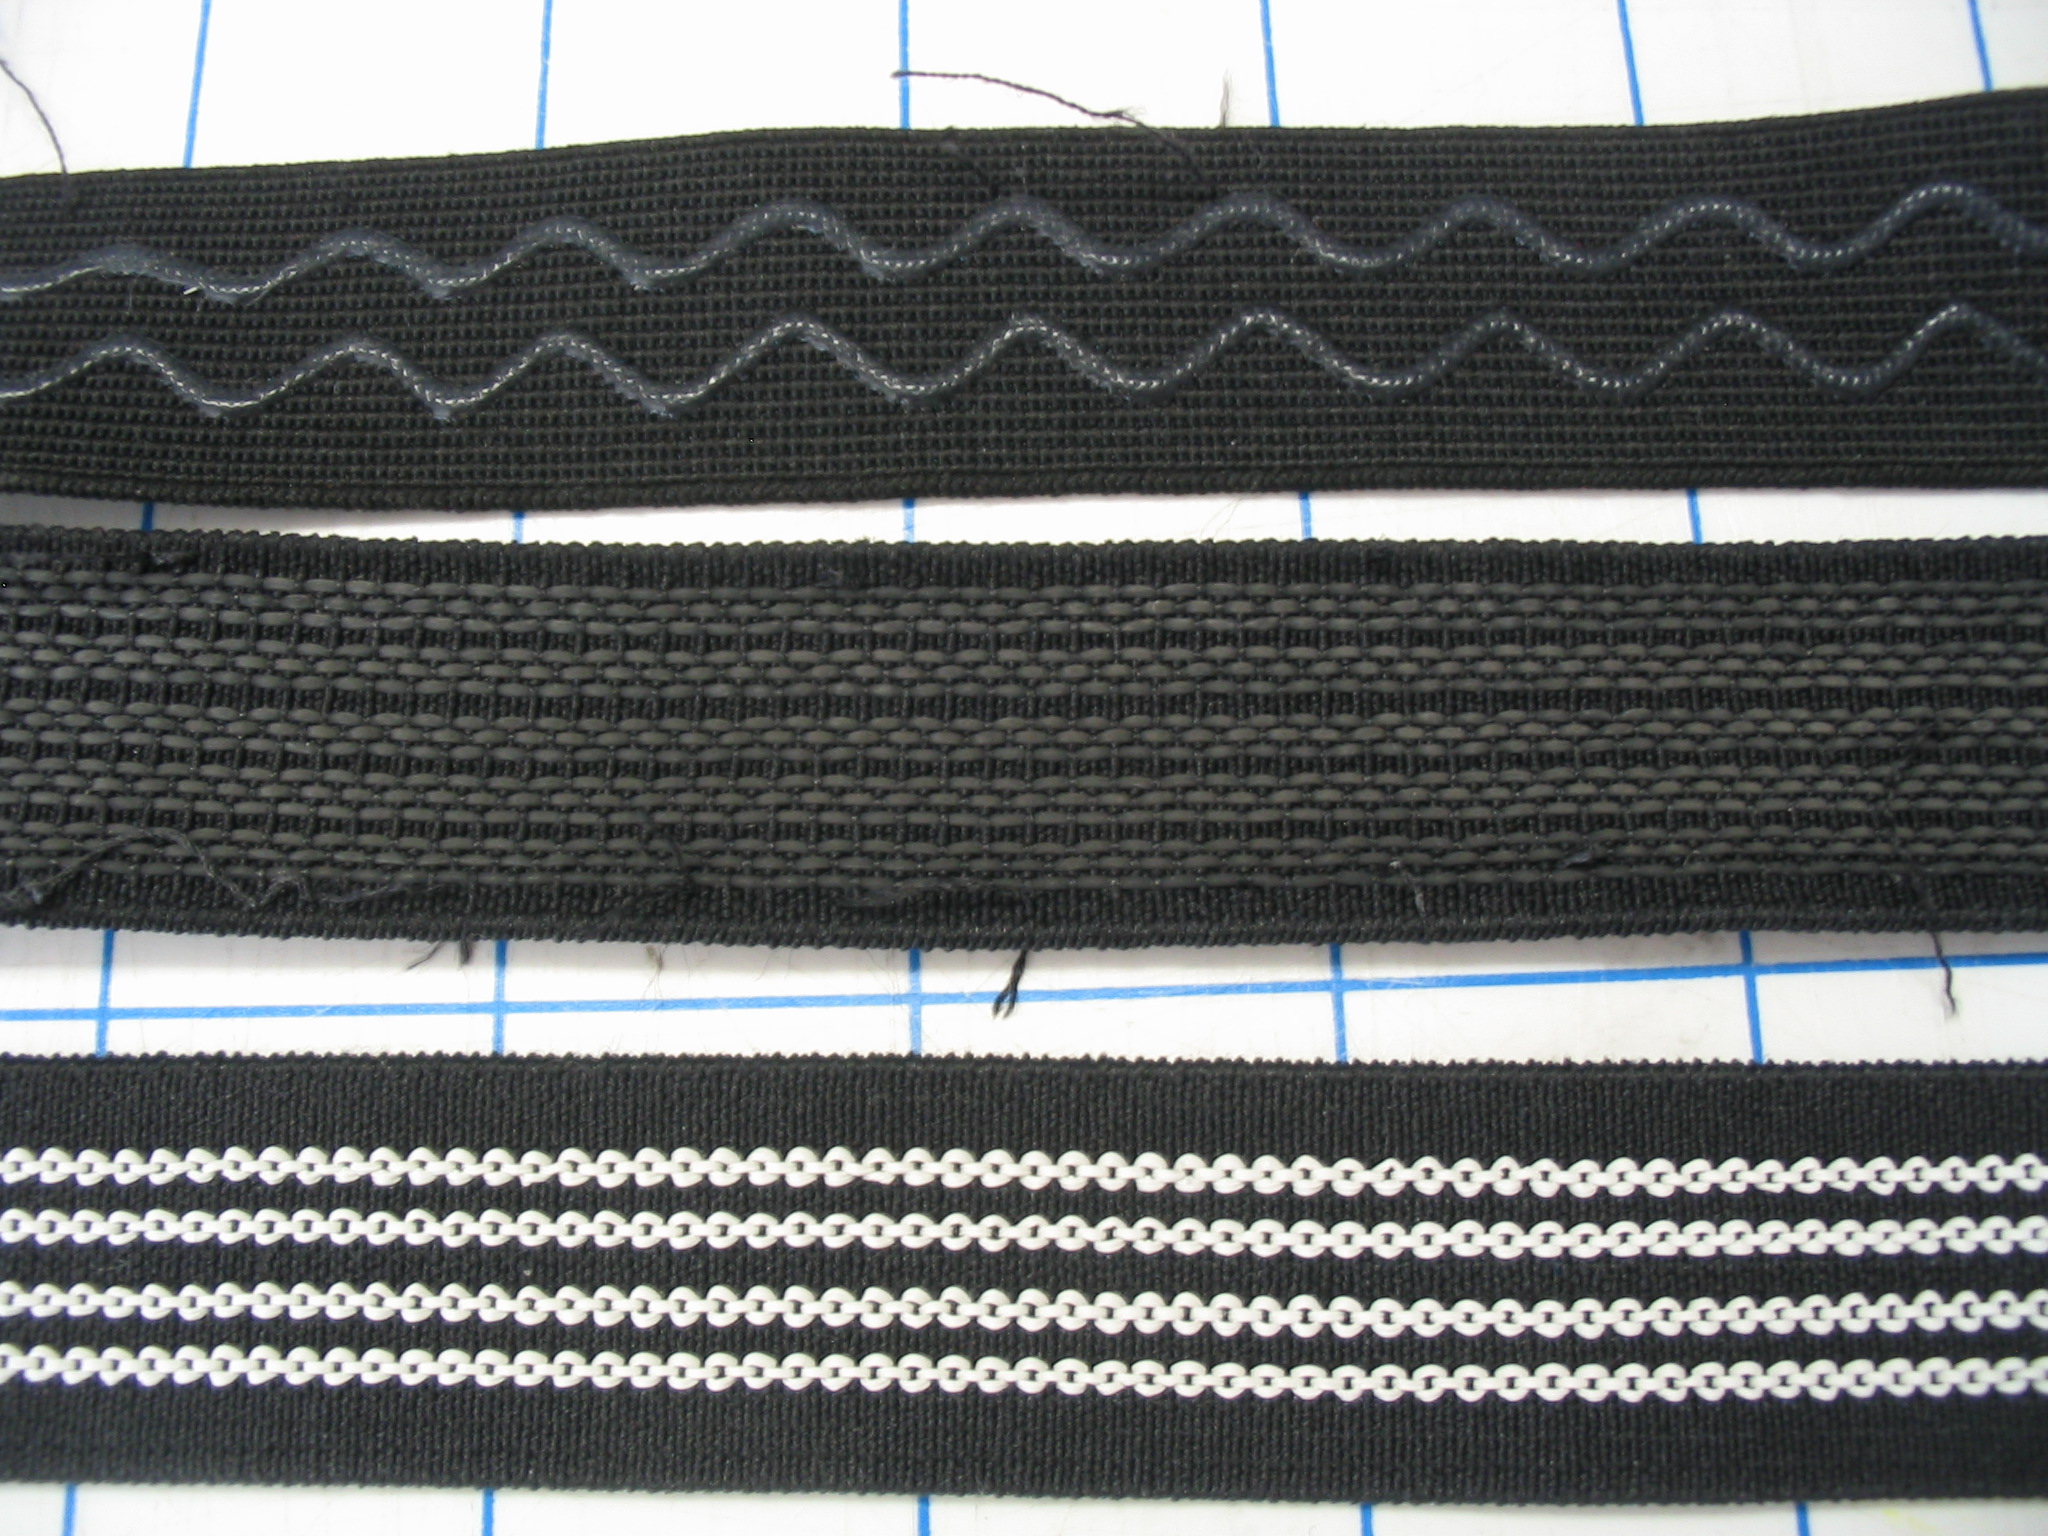
Gripper elastics
For gripper, there are lots of kinds available from the suppliers at sources. The amount of stretch in each kind will vary so you will need to experiment for the correct fit around your thighs.
Do not use the pattern instruction numbers to cut your elastic, especially for the legs. Put the shorts on sans leg elastic, and measure thigh circumference at the desired length of the shorts. Cut the elastic just a little bit shorter, or use the same number, allowing for overlap. This will give you a nice, flat, non-sausagey look.The elastic may actually be longer than the leg opening, not to worry – just stretch the lycra to put the elastic on smoothly. For most people, the numbers given with the pattern instructions are way too short, and create a thigh elastic that is just too tight. Warning: you may have to experiment here to get the feel that is right for you. I recommended basting your elastic on first to check the length keeping in mind that when you actually stitch it, it may grow a bit.
Note: for all elastic installation, divide elastic and garment opening into quarters and mark/match up quarters, stretching elastic and/or lycra as you go to distribute stretch evenly.
For a nice finish on your gripper elastic:

serge elastic onto WS of legs
1. Use wooly nylon to serge the elastic to the inside (WS) of the shorts leg.
2. Use a narrow zig-zag to stitch loose edge of the elastic to the WS of the shorts.
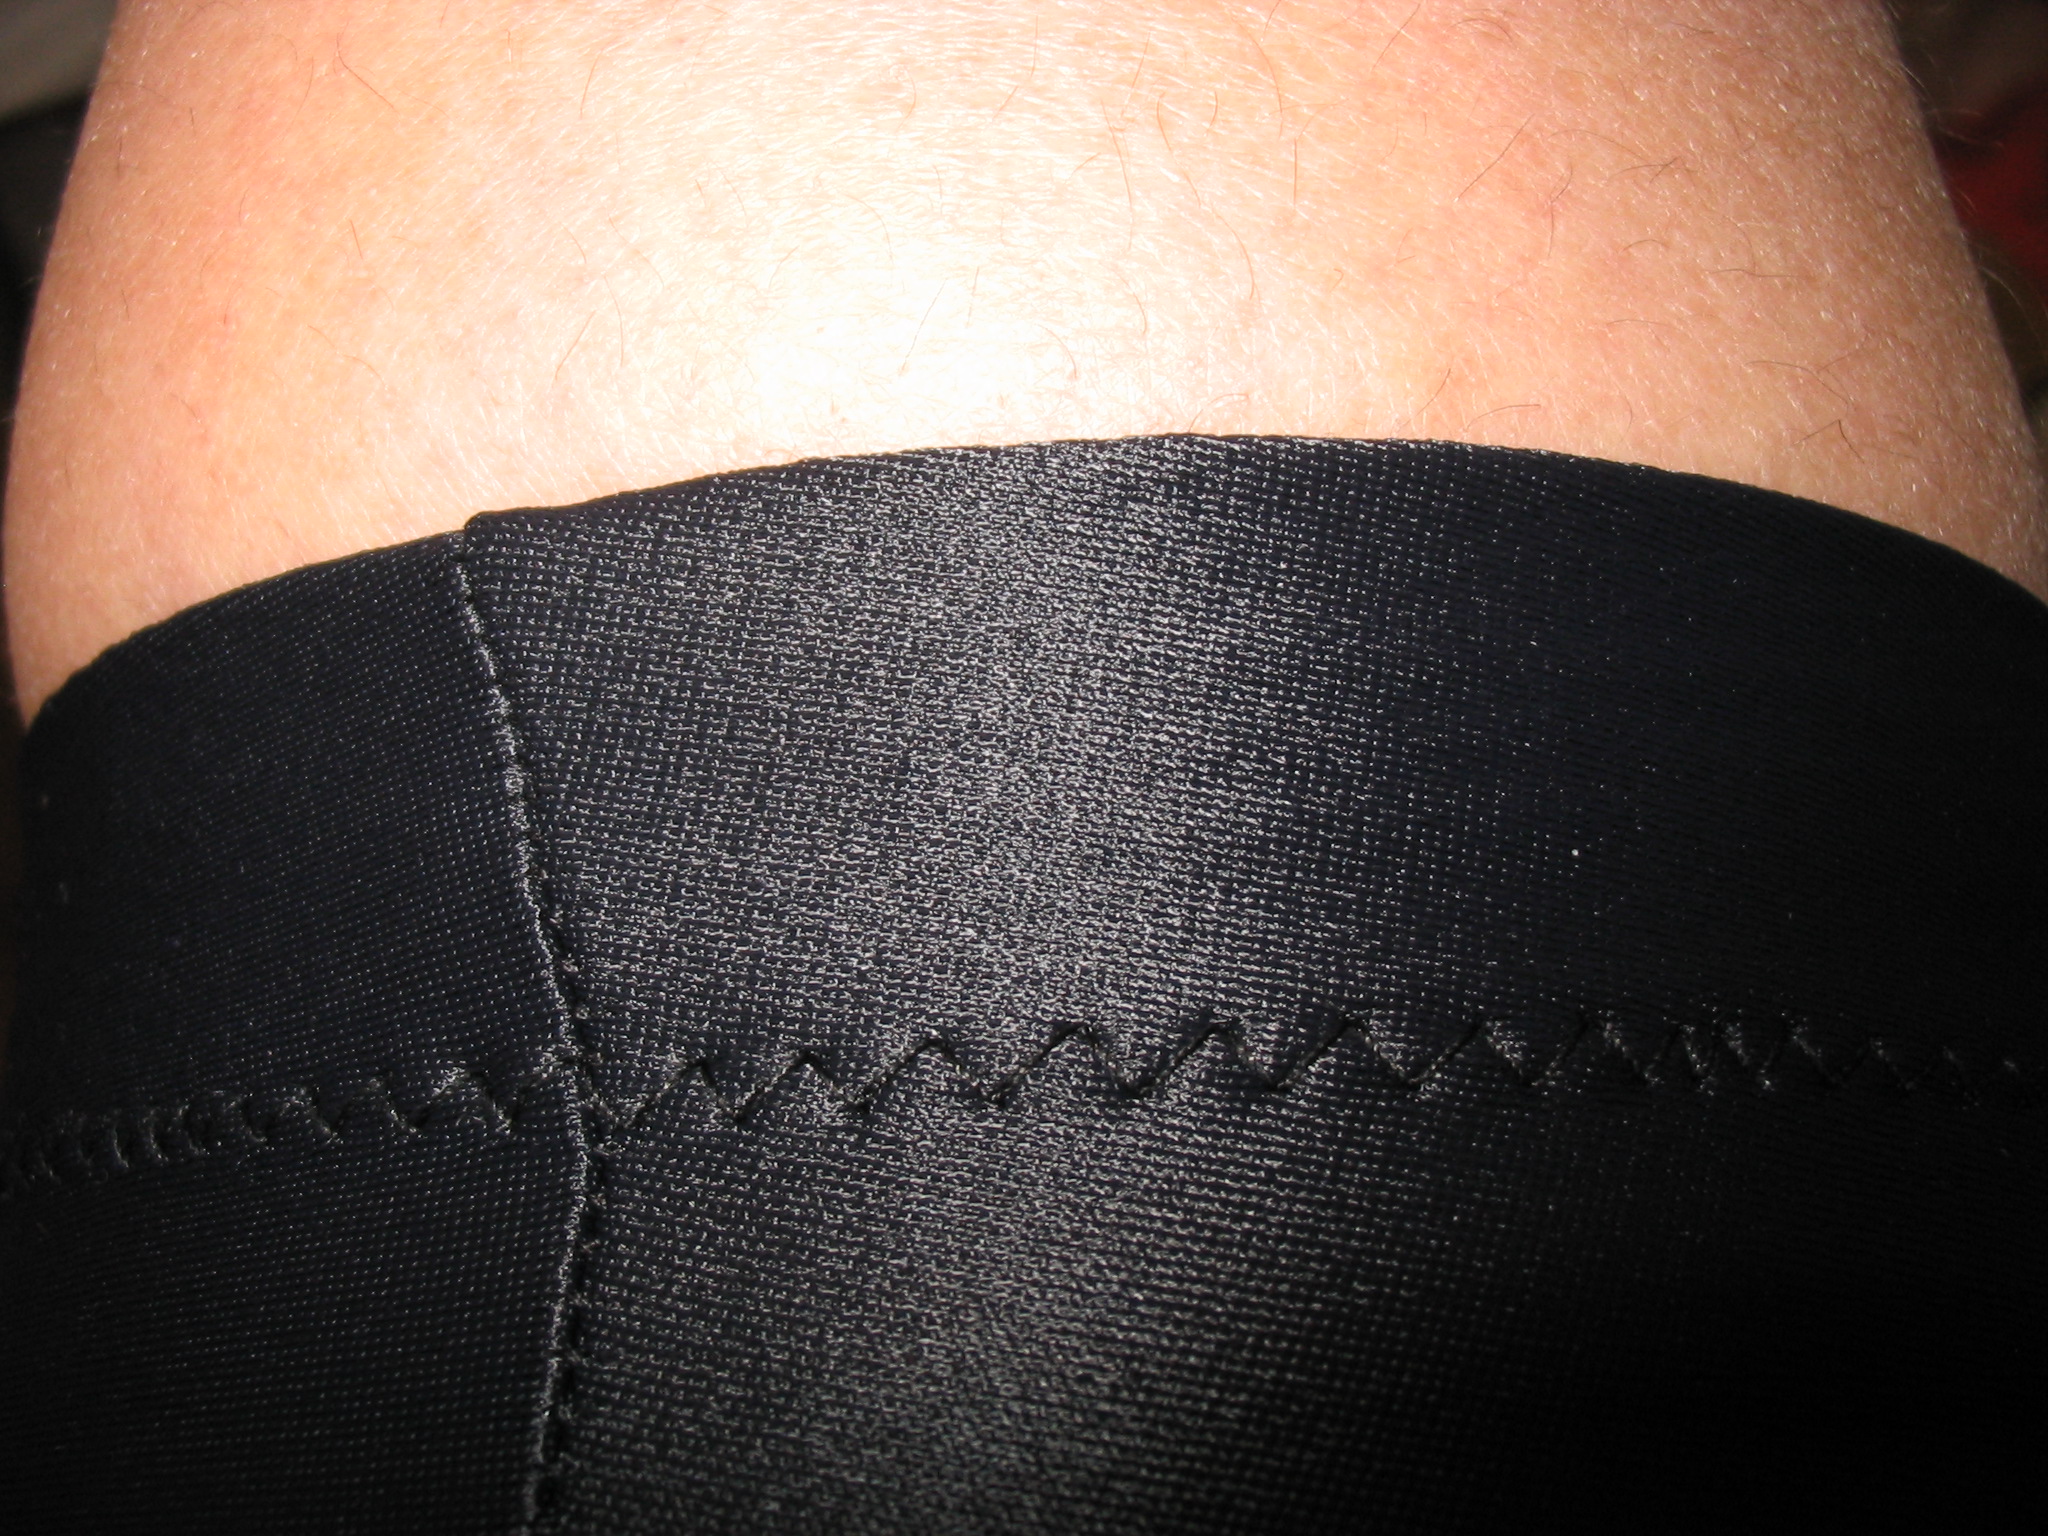
Finished leg elastic
3.Turn elastic up, and then stitch again on the upper edge of the elastic from the inside. Use a wider zig-zag, or a 3-step zig zag. View is from the outside.
For waist elastic, first check that shorts waist does not need altering in height, or fit. Ladies, this is a good time to adjust if you prefer a low-rise cut. Be sure and leave 1″ extra for the elastic install. Now, cut a length of 1″ elastic that feels comfortable around your waist. Pull it up a few inches, over lap the ends 1/2″, and cut. If you prefer to work with actual numbers, cut the waist elastic 60% of the desired finished size, then cut and over lap.
To install the waist elastic, see notes above. Serge the elastic onto the WS raw edge of the shorts. Turn to inside, and topstitch on with a wide zig-zag. Be sure to pull on the elastic, flattening the lycra to the waistband as you go. (pulling out wrinkles).
You should be done now – ride ’em like you stole ’em.